> For the complete documentation index, see [llms.txt](https://docs.inforiver.com/llms.txt). Markdown versions of documentation pages are available by appending `.md` to page URLs; this page is available as [Markdown](https://docs.inforiver.com/premium-table/display-settings/hierarchy-settings.md).
# Hierarchy settings
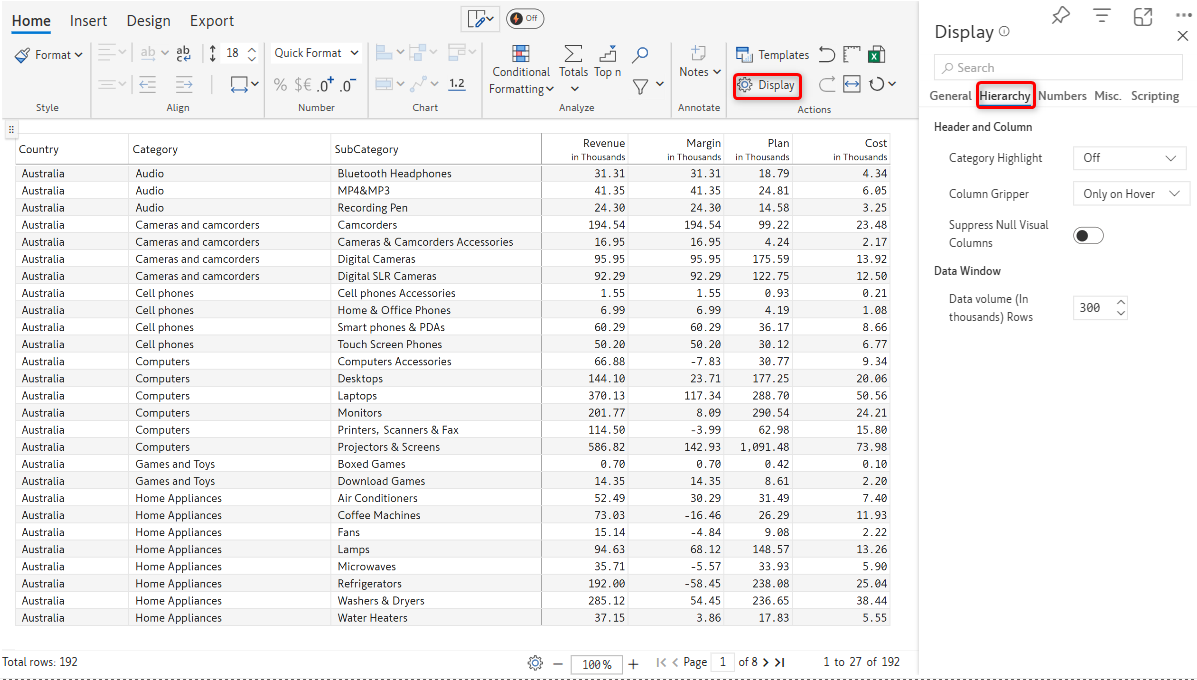
In the Inforiver toolbar, navigate to the Home ribbon. Click **Settings > Display Settings** from the Actions section to open up the Display side panel.
Click on the **Hierarchy** tab in this panel to view the hierarchy settings. Let's explore the options to customize hierarchies in your reports.
Hierarchy settings
Let's explore the options to customize hierarchies in your reports.
### 1. Header and Column
#### 1.1. Category Highlight
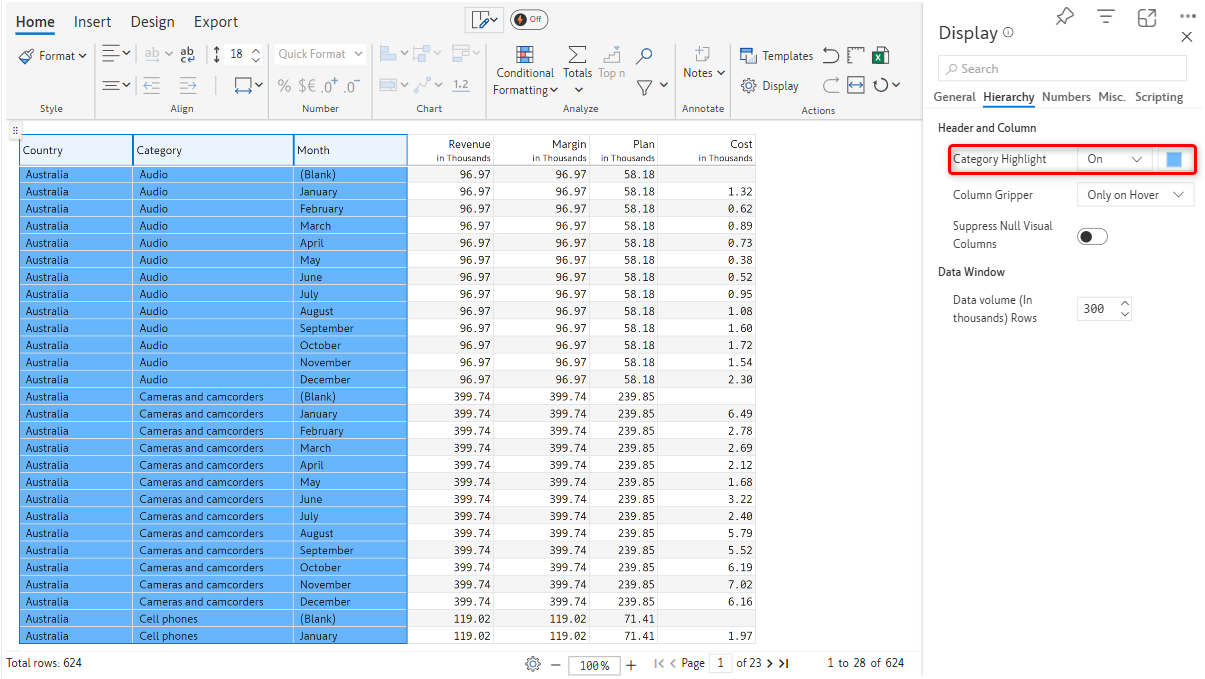
This drop-down lets you show or hide the category highlight. This option is set to Off by default. When this option is enabled, a color picker is displayed. You can select a color to highlight the category hierarchy.
Cateory highlight
#### 1.2. Column gripper
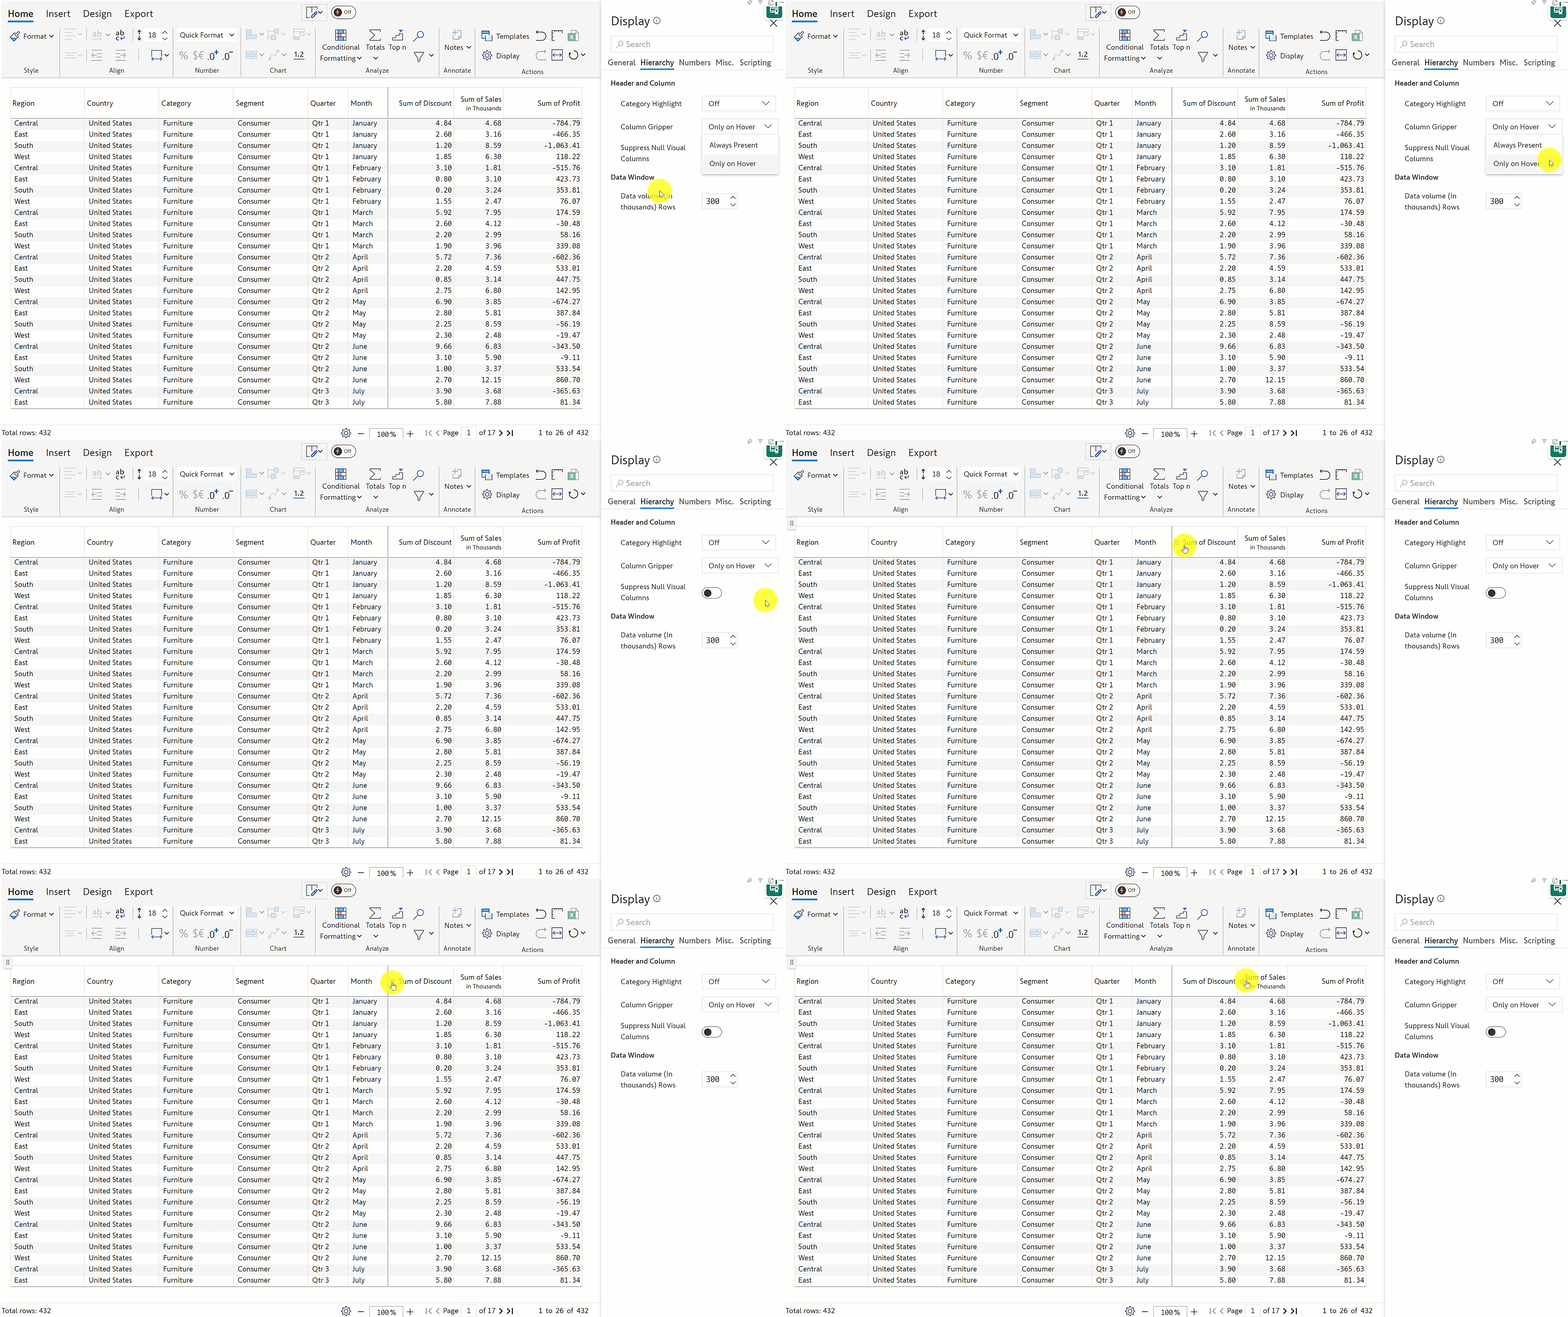
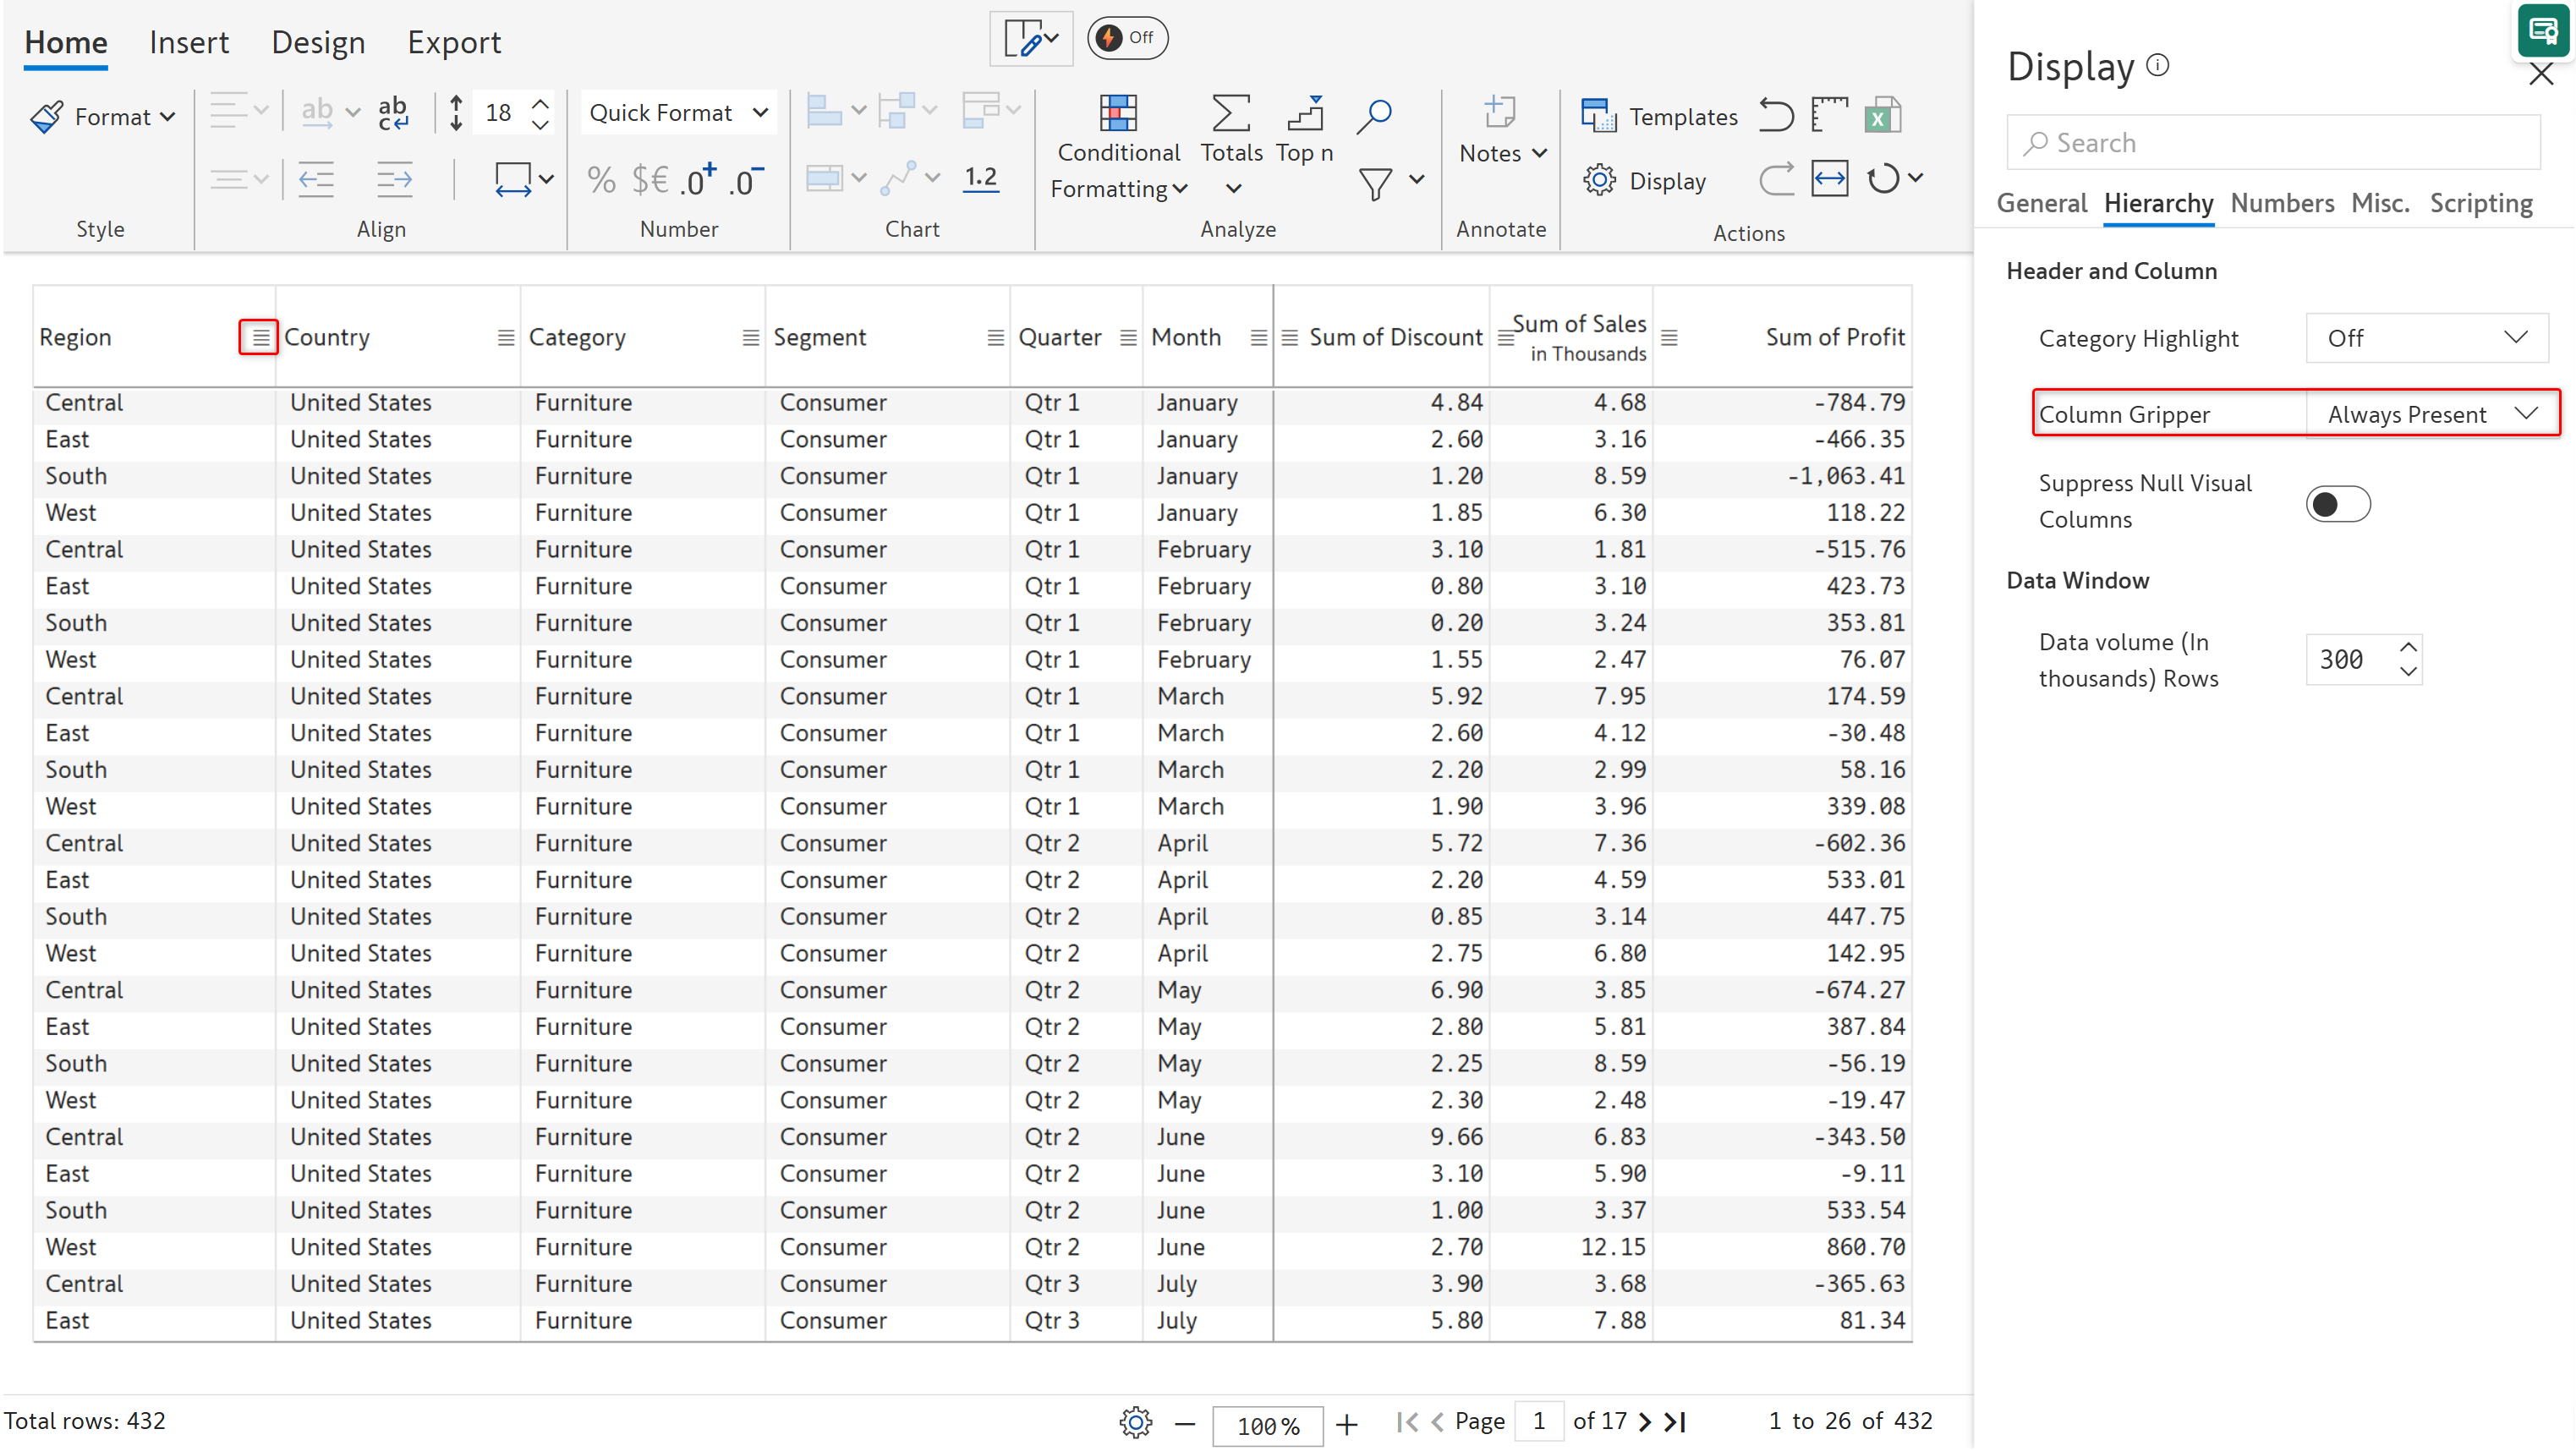
This option controls the visibility of the olumn ripper. When set to nly on Hover, the olumn ripper appears only when you hover over a column. When set to Always Present, the olumn ripper is displayed at all times.
Only on hover
Always Present
### 2. Data window
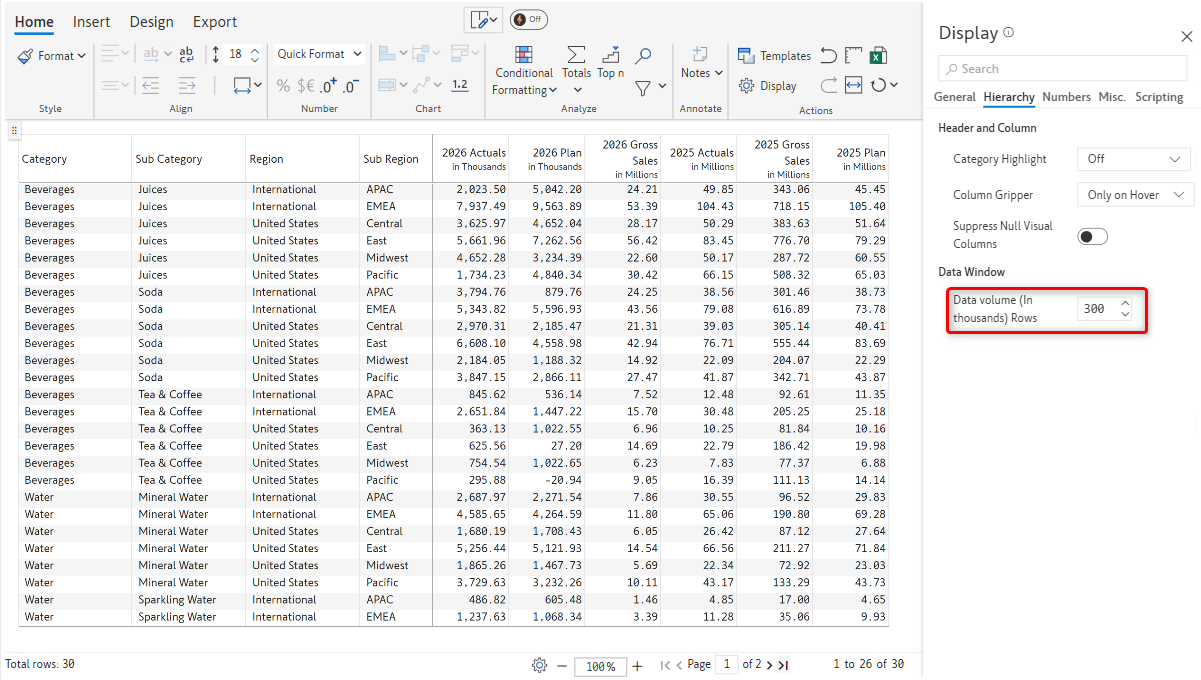
#### 2.1. Data Volume
Inforiver supports wide table use cases through the dynamic columns feature. You can fetch up to 1000 columns; however, the performance would be compromised.
Every fetch from Power BI is 30,000 cells (Number of rows x Number of columns). This means you can load data chunks of different sizes dynamically - 500 Rows by 60 Columns (or) 30 Rows by 1000 Columns (or) 10,000 Rows by 3 Columns.
You can adjust this volume to retrieve more data from the data source.
Data Volume
### 3. Row totals
You can customize the grand total title and height here.
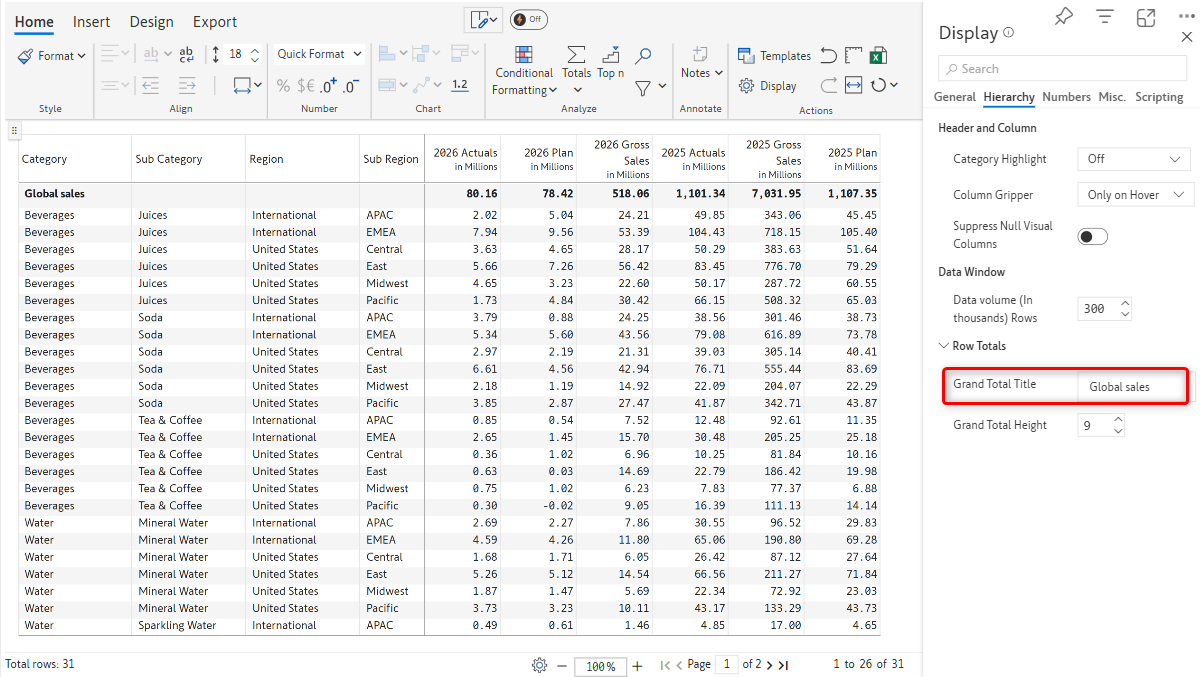
#### **3.1. Grand total title**
The options related to the grand total are displayed only if the Row Grand Total value has not been set to 'Off' under the Totals option.
You can set a custom title for the grand total in the textbox.
Grand total title
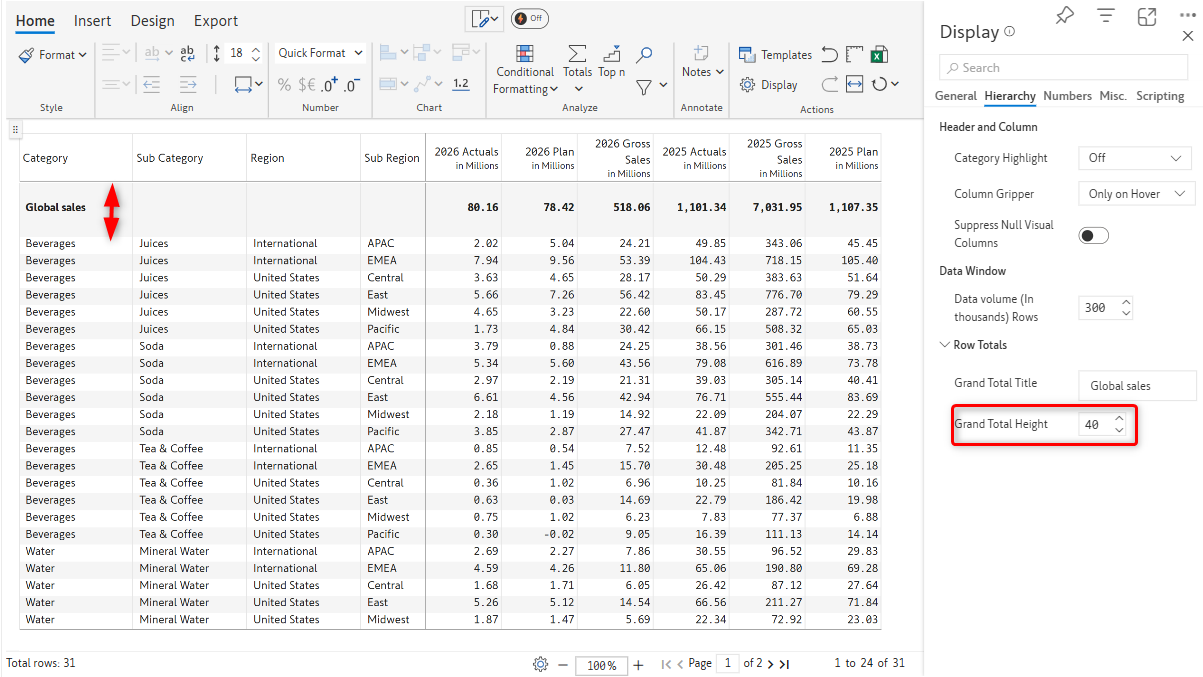
#### 3.2. Grand total height
The value that you specify here will override the default height of the grand total row.
{% hint style="info" %}
The minimum and maximum values for grand total height are 5 and 45, respectively.
{% endhint %}
Grand Total Height
In this section, we covered the hierarchy display settings. Navigate to the next section to learn more about [advanced number formatting](/premium-table/display-settings/number-settings.md).
---
# Agent Instructions
This documentation is published with GitBook. GitBook is the documentation platform designed so that both humans and AI agents can read, navigate, and reason over technical content effectively. Learn more at gitbook.com.
## Querying This Documentation
If you need additional information that is not directly available in this page, you can query the documentation dynamically by asking a question.
Perform an HTTP GET request on the current page URL with the `ask` query parameter, and the optional `goal` query parameter:
```
GET https://docs.inforiver.com/premium-table/display-settings/hierarchy-settings.md?ask=&goal=
```
`ask` is the immediate question: it should be specific, self-contained, and written in natural language.
`goal` is optional and describes the broader end goal you are ultimately trying to accomplish on behalf of the user. GitBook uses it to tailor the answer towards what is most useful for that goal.
The response will contain a direct answer to the question and relevant excerpts and sources from the documentation.
Use this mechanism when the answer is not explicitly present in the current page, you need clarification or additional context, or you want to retrieve related documentation sections.