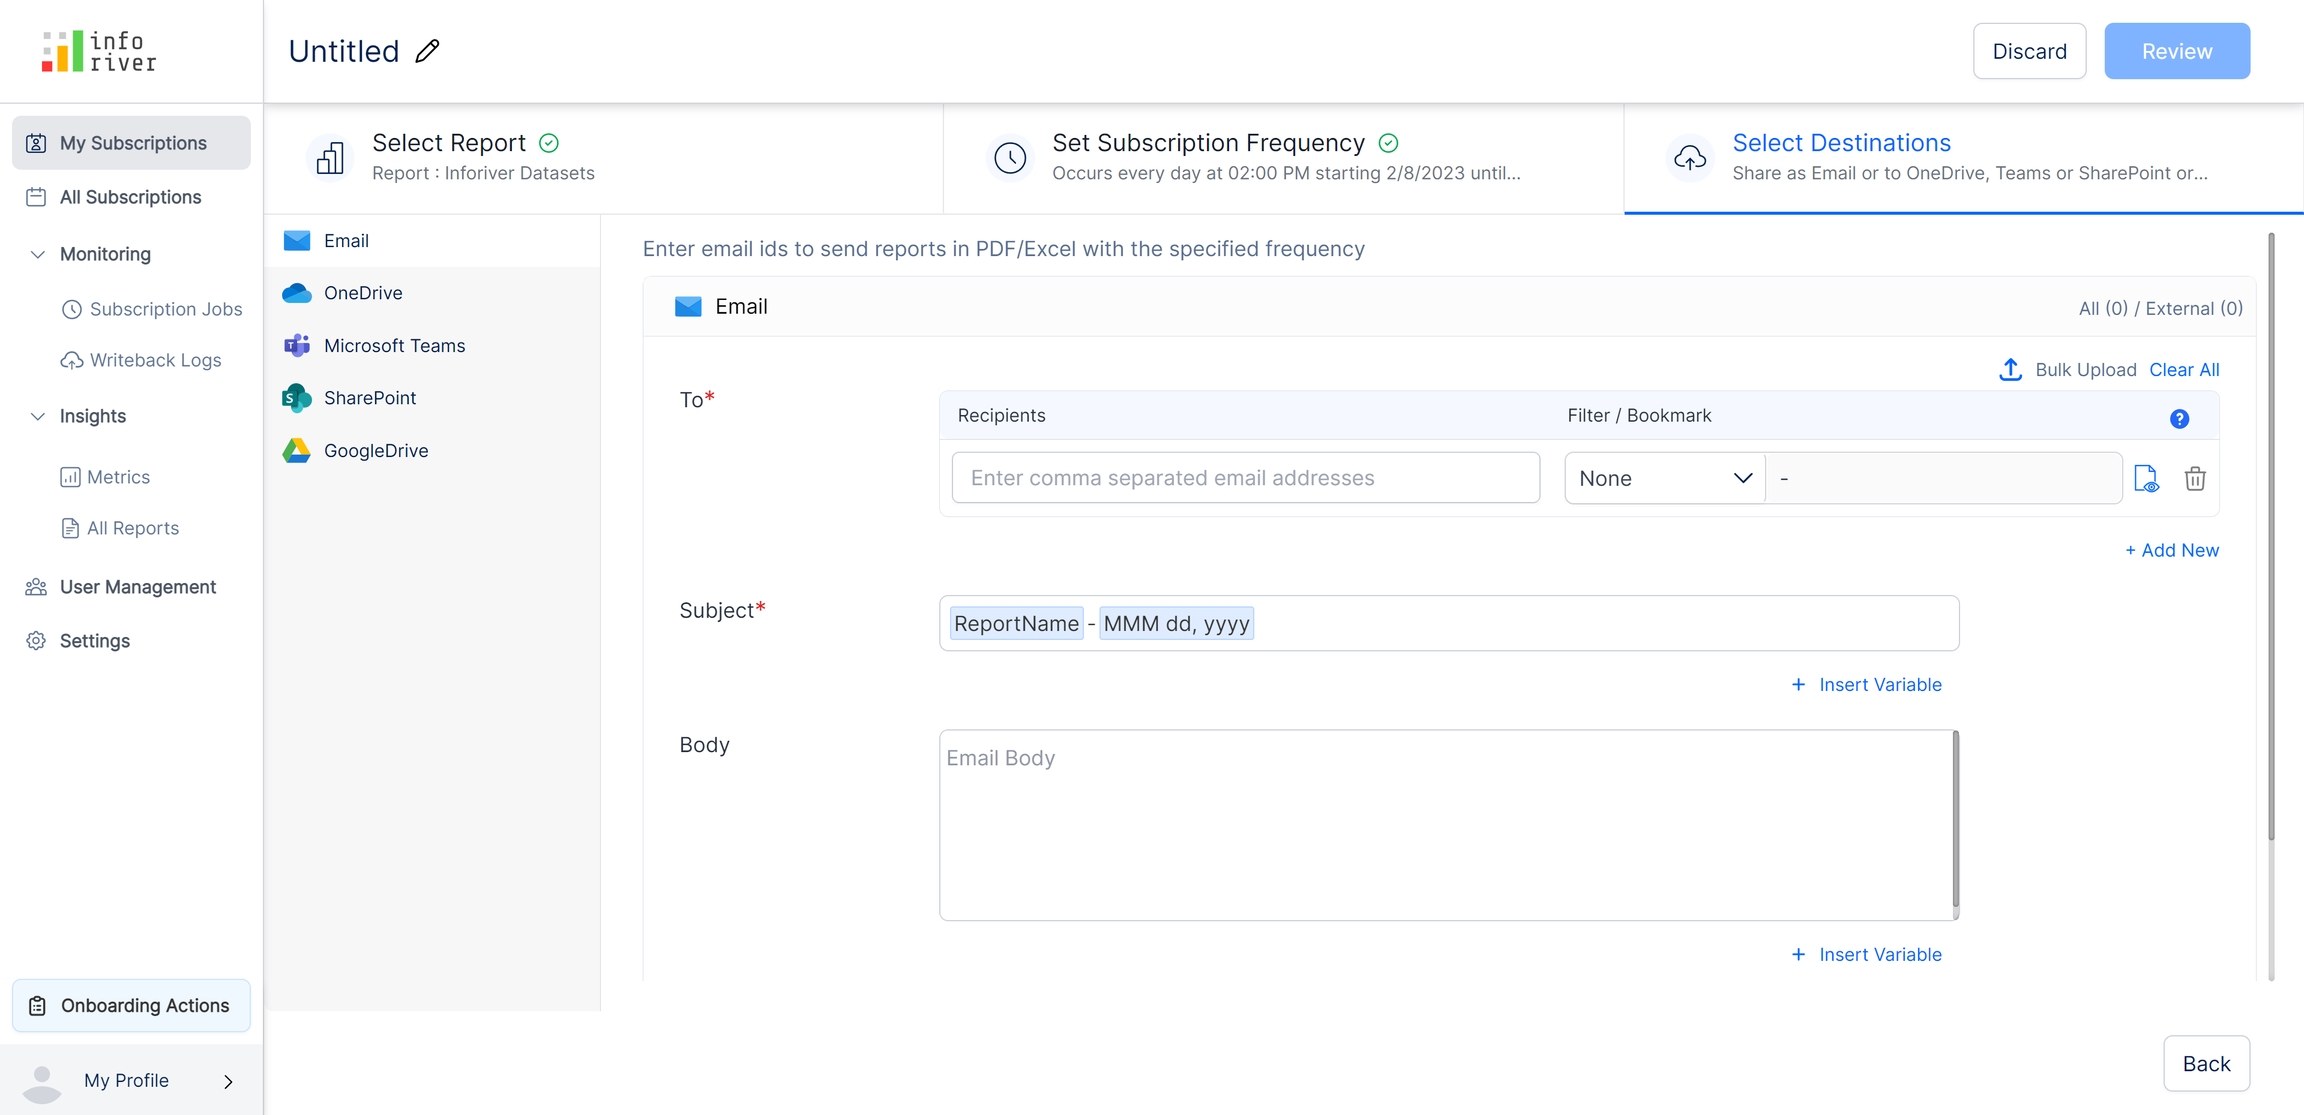
Here you can select the destination(s) to which you want the send the reports. The scheduled reports can be exported to any of the following destinations: Email, OneDrive, Microsoft Teams, SharePoint, and Google Drive.
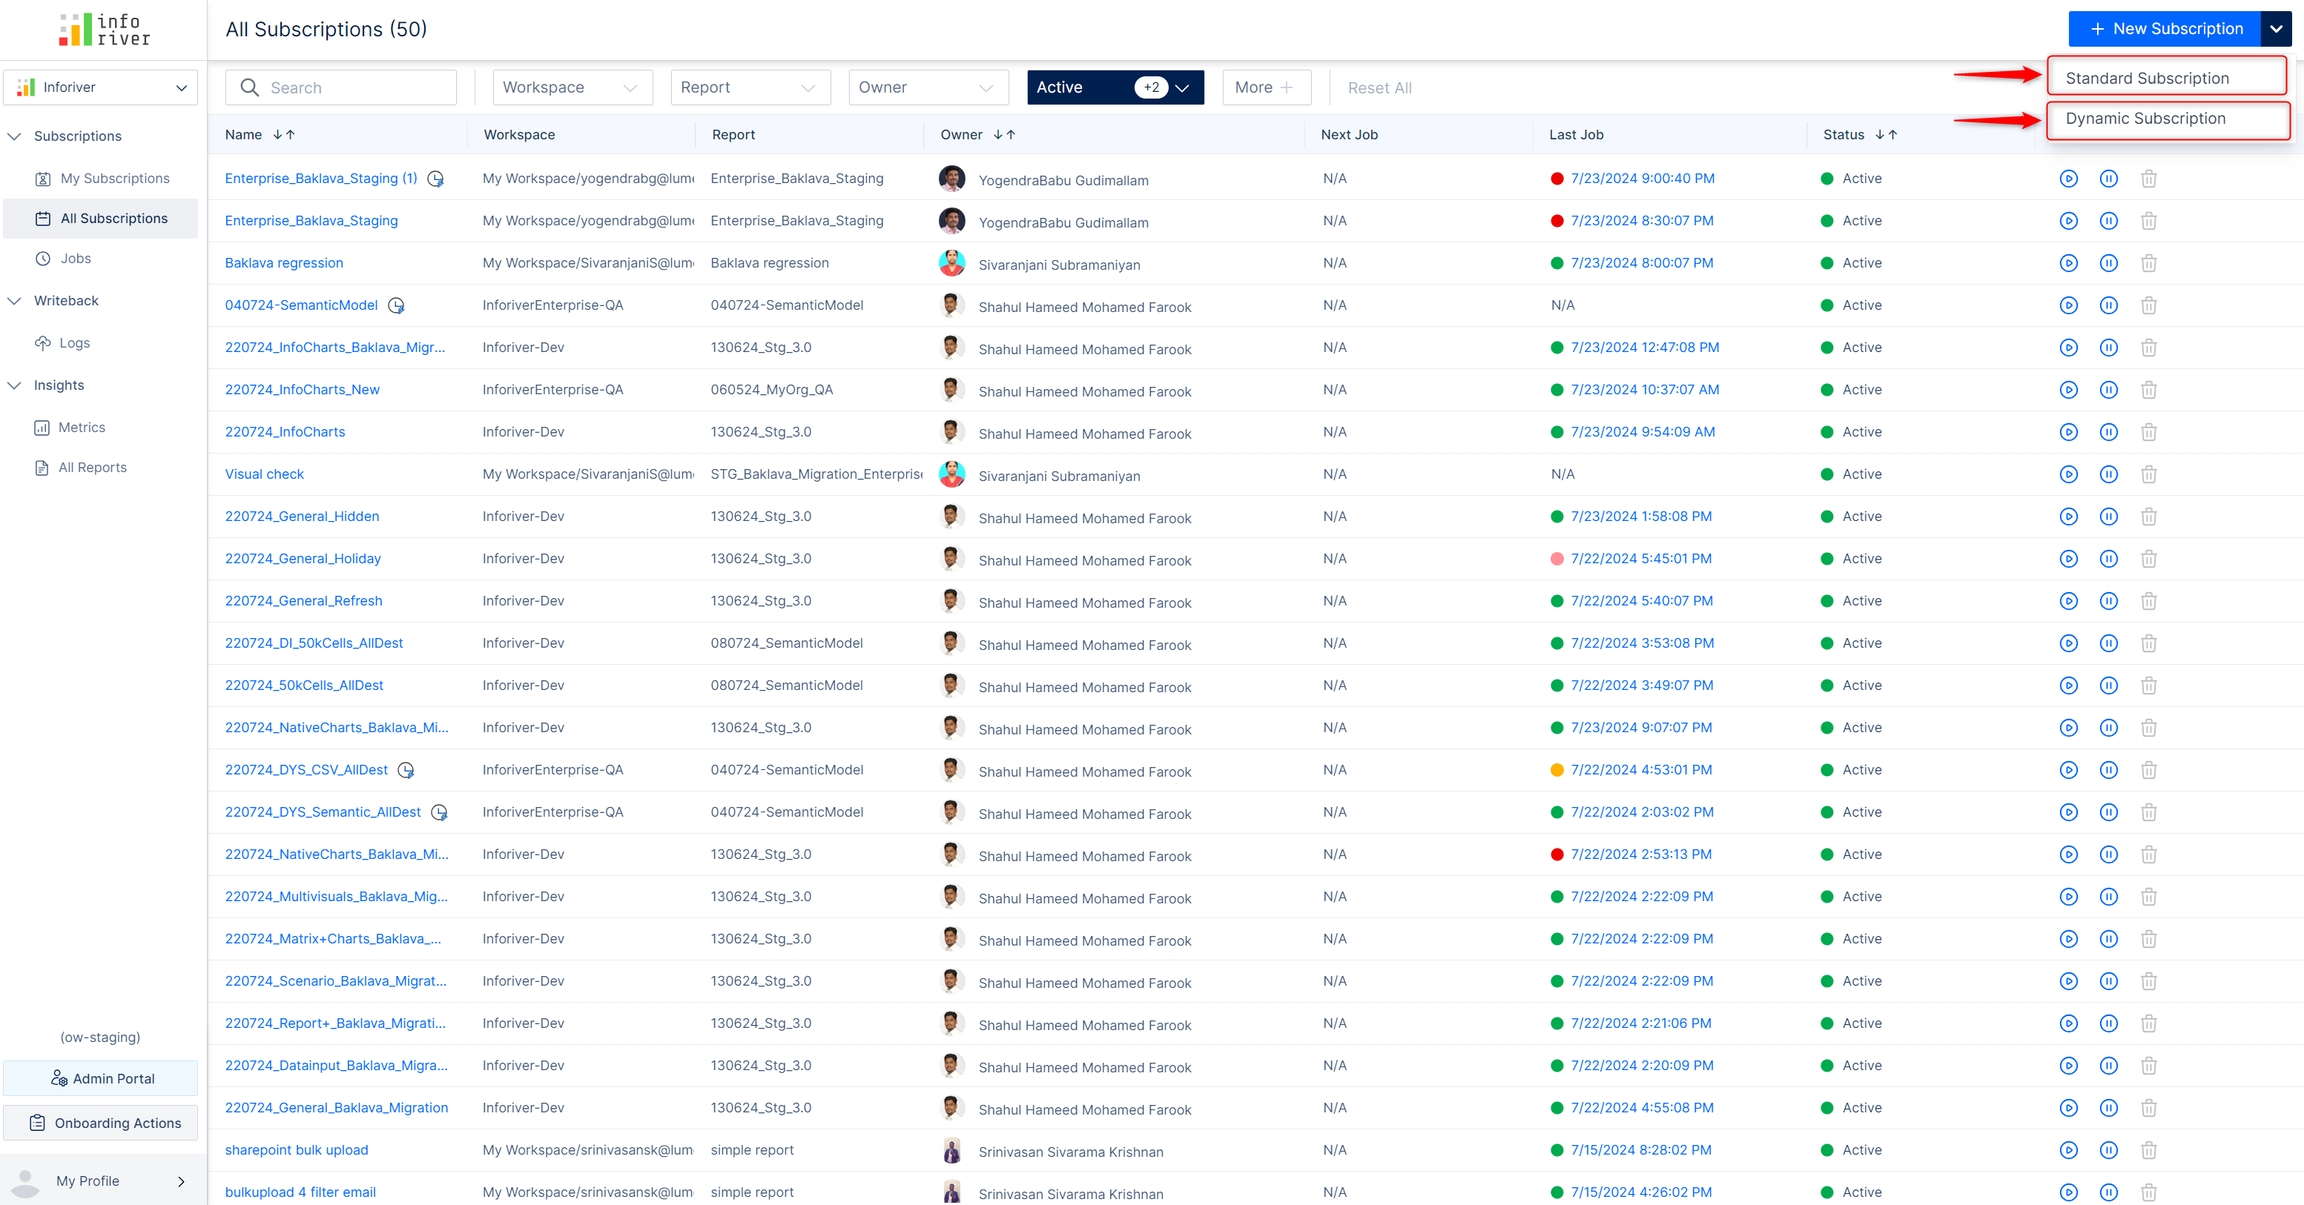
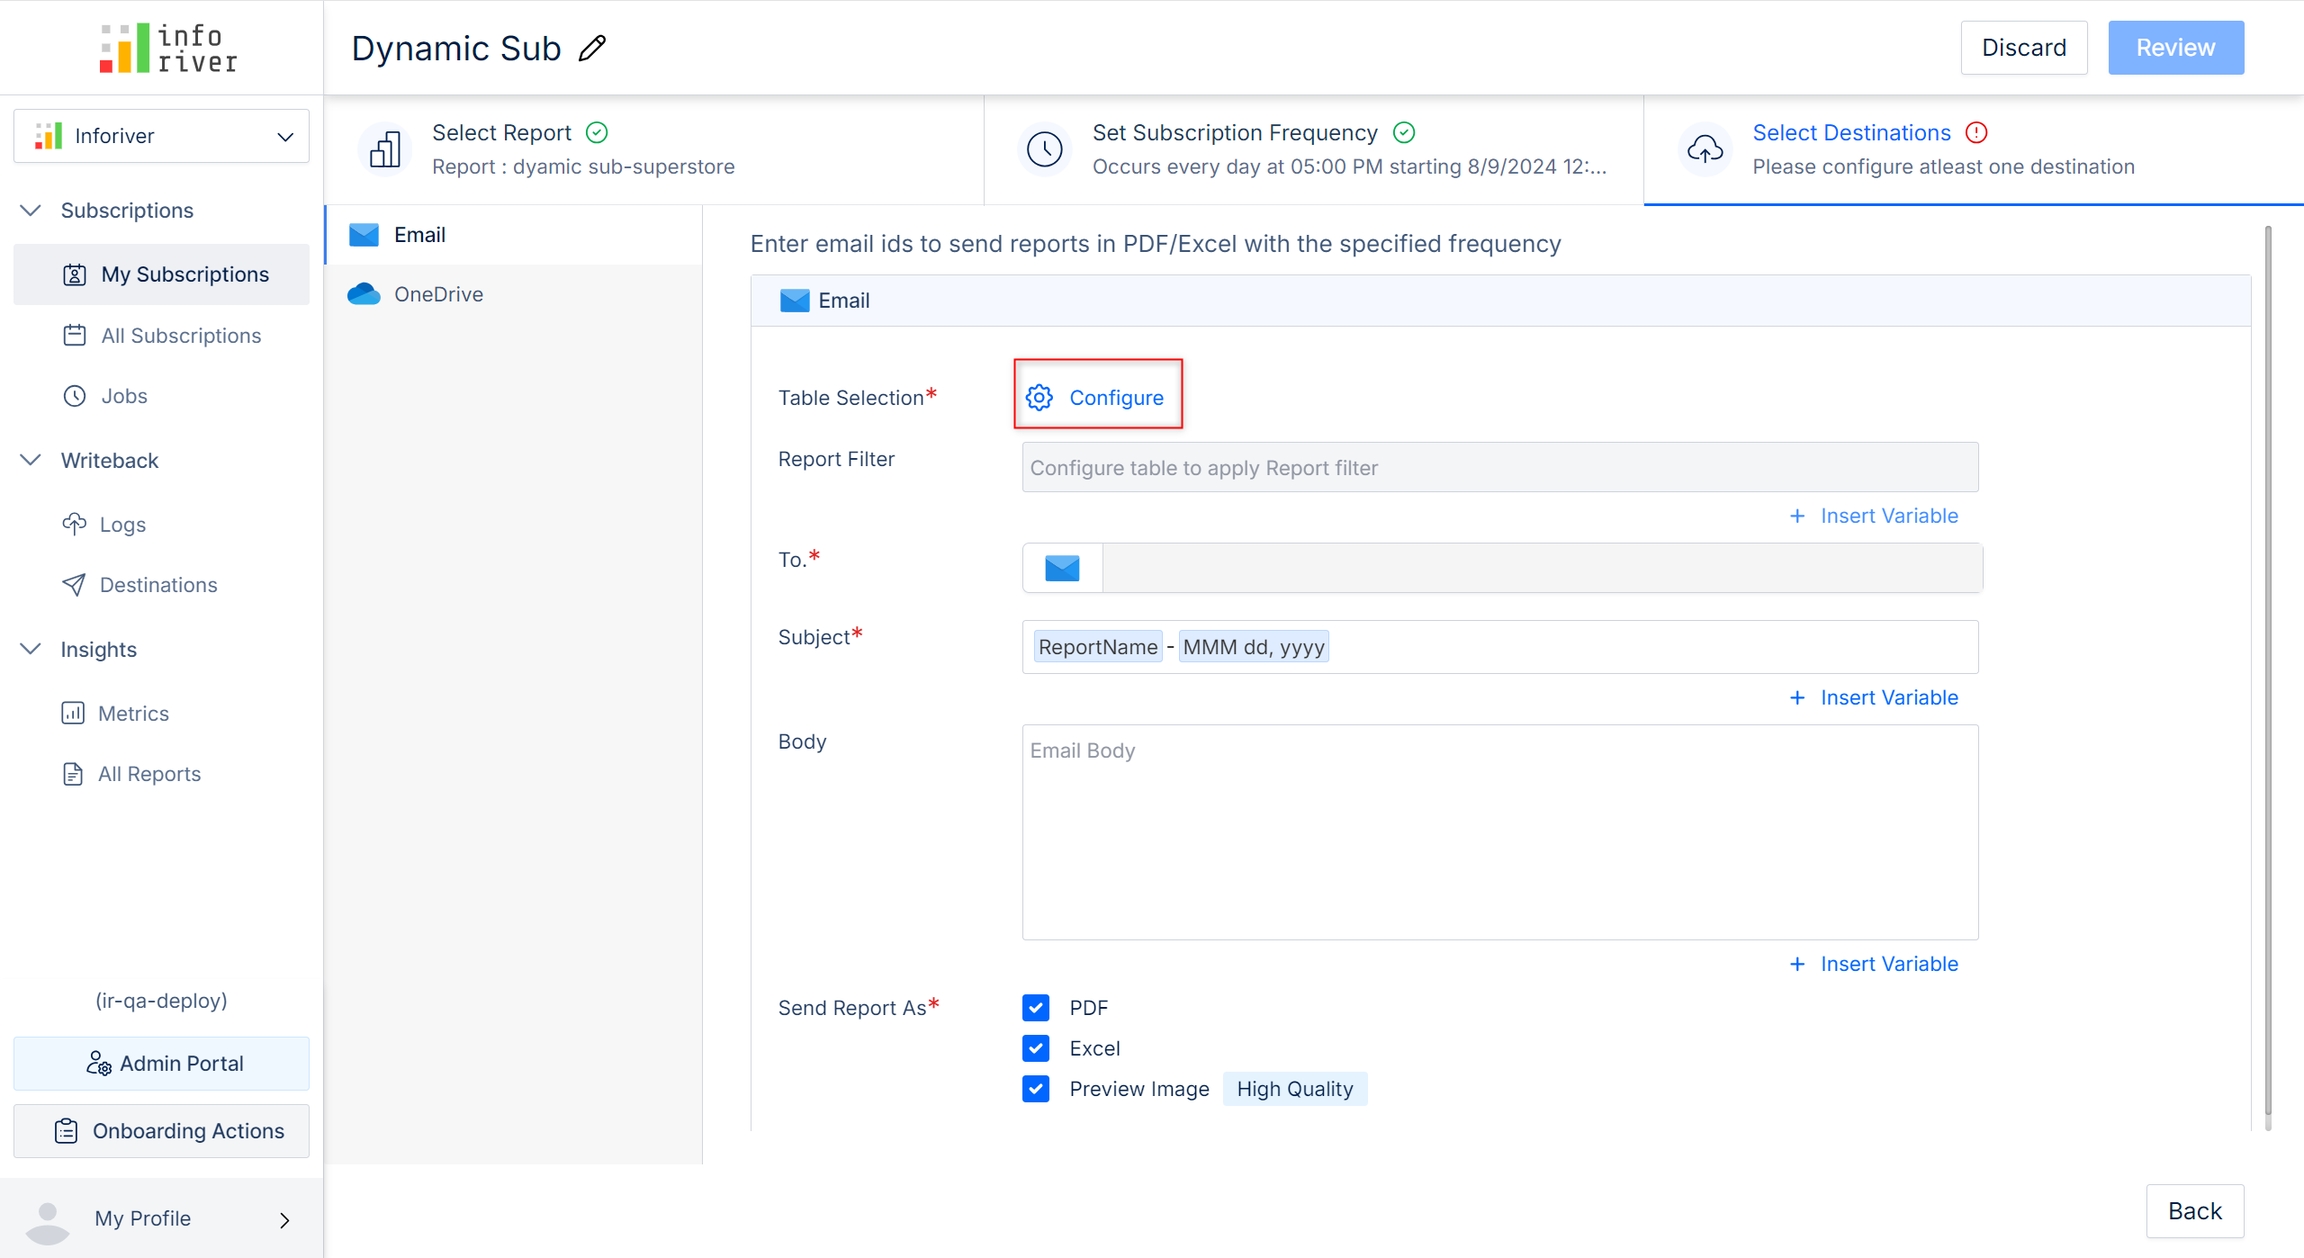
When you create a new subscription, you can choose between standard and dynamic subscriptions.
Standard subscription: To send the report to all destinations, irrespective of the dimension categories.
Dynamic subscription: Send the report to specific emails IDs/Teams channels/folders based on the dimension categories.
When you choose a standard subscription, the 'Select Destinations' page look as below:
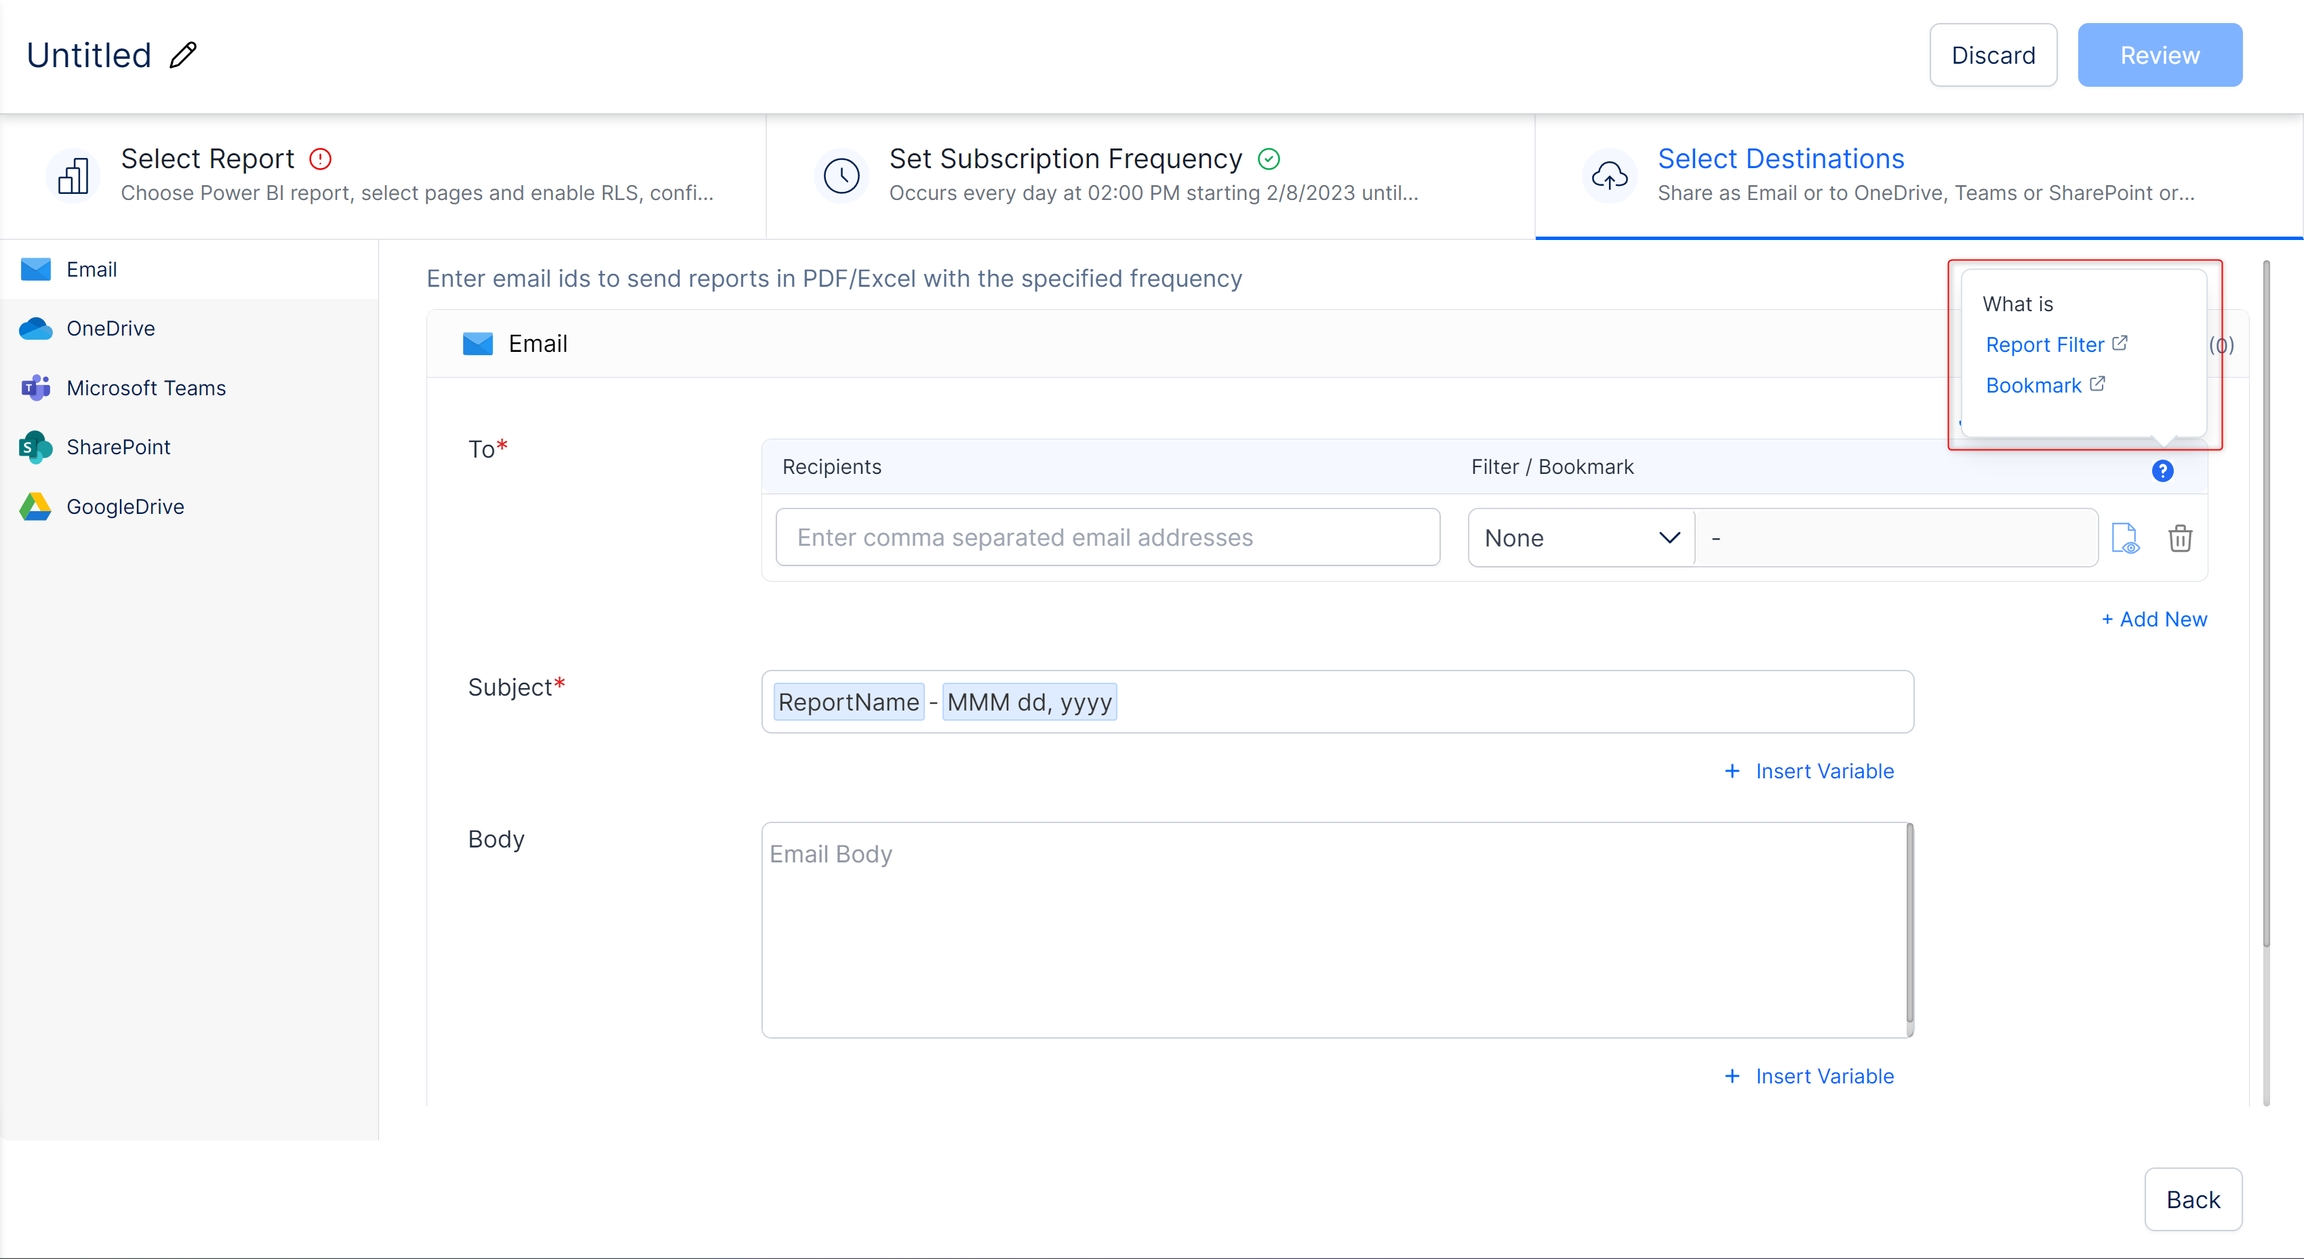
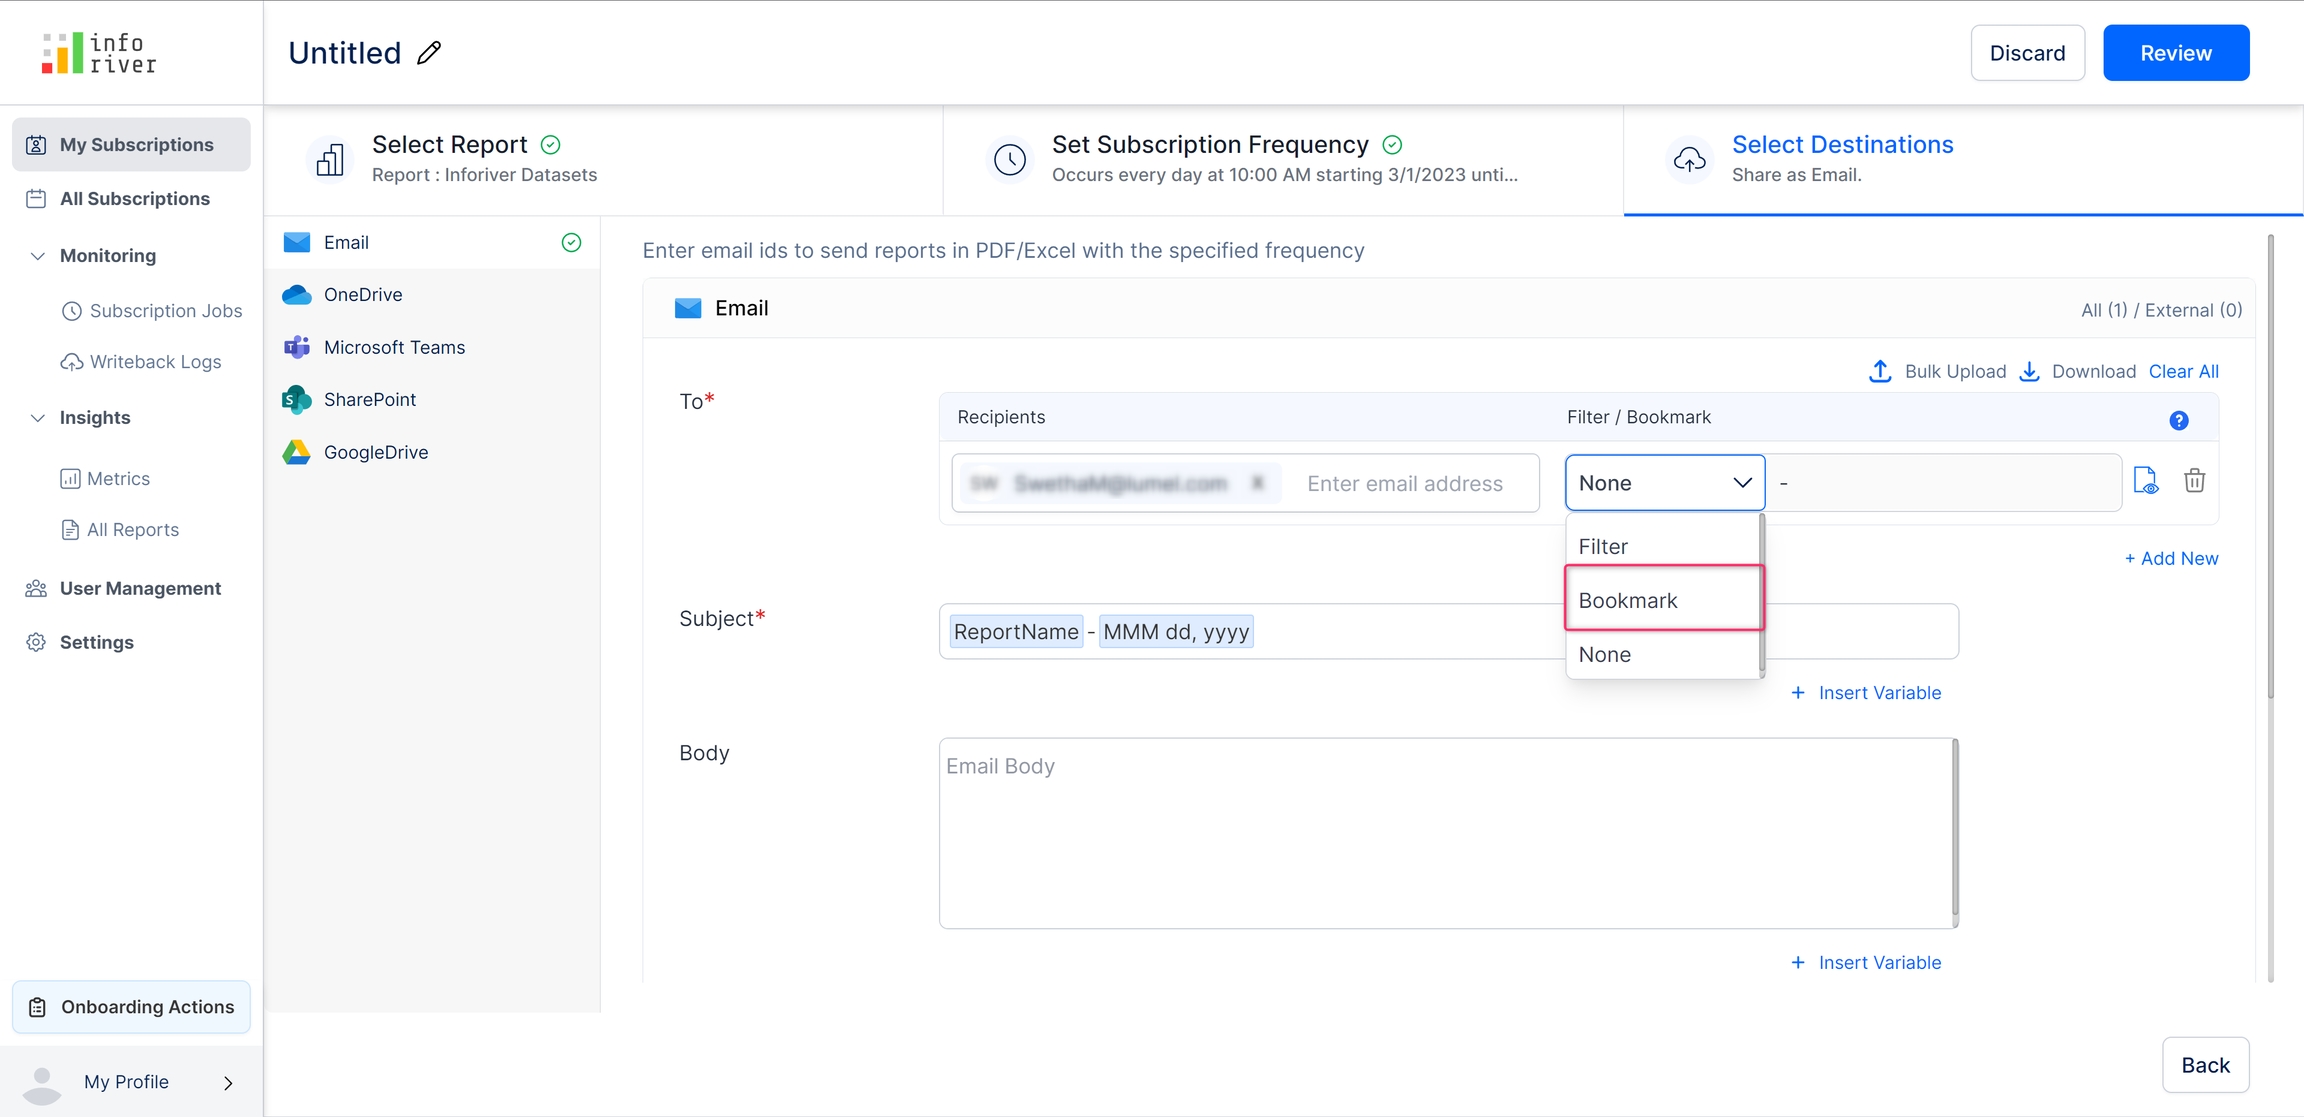
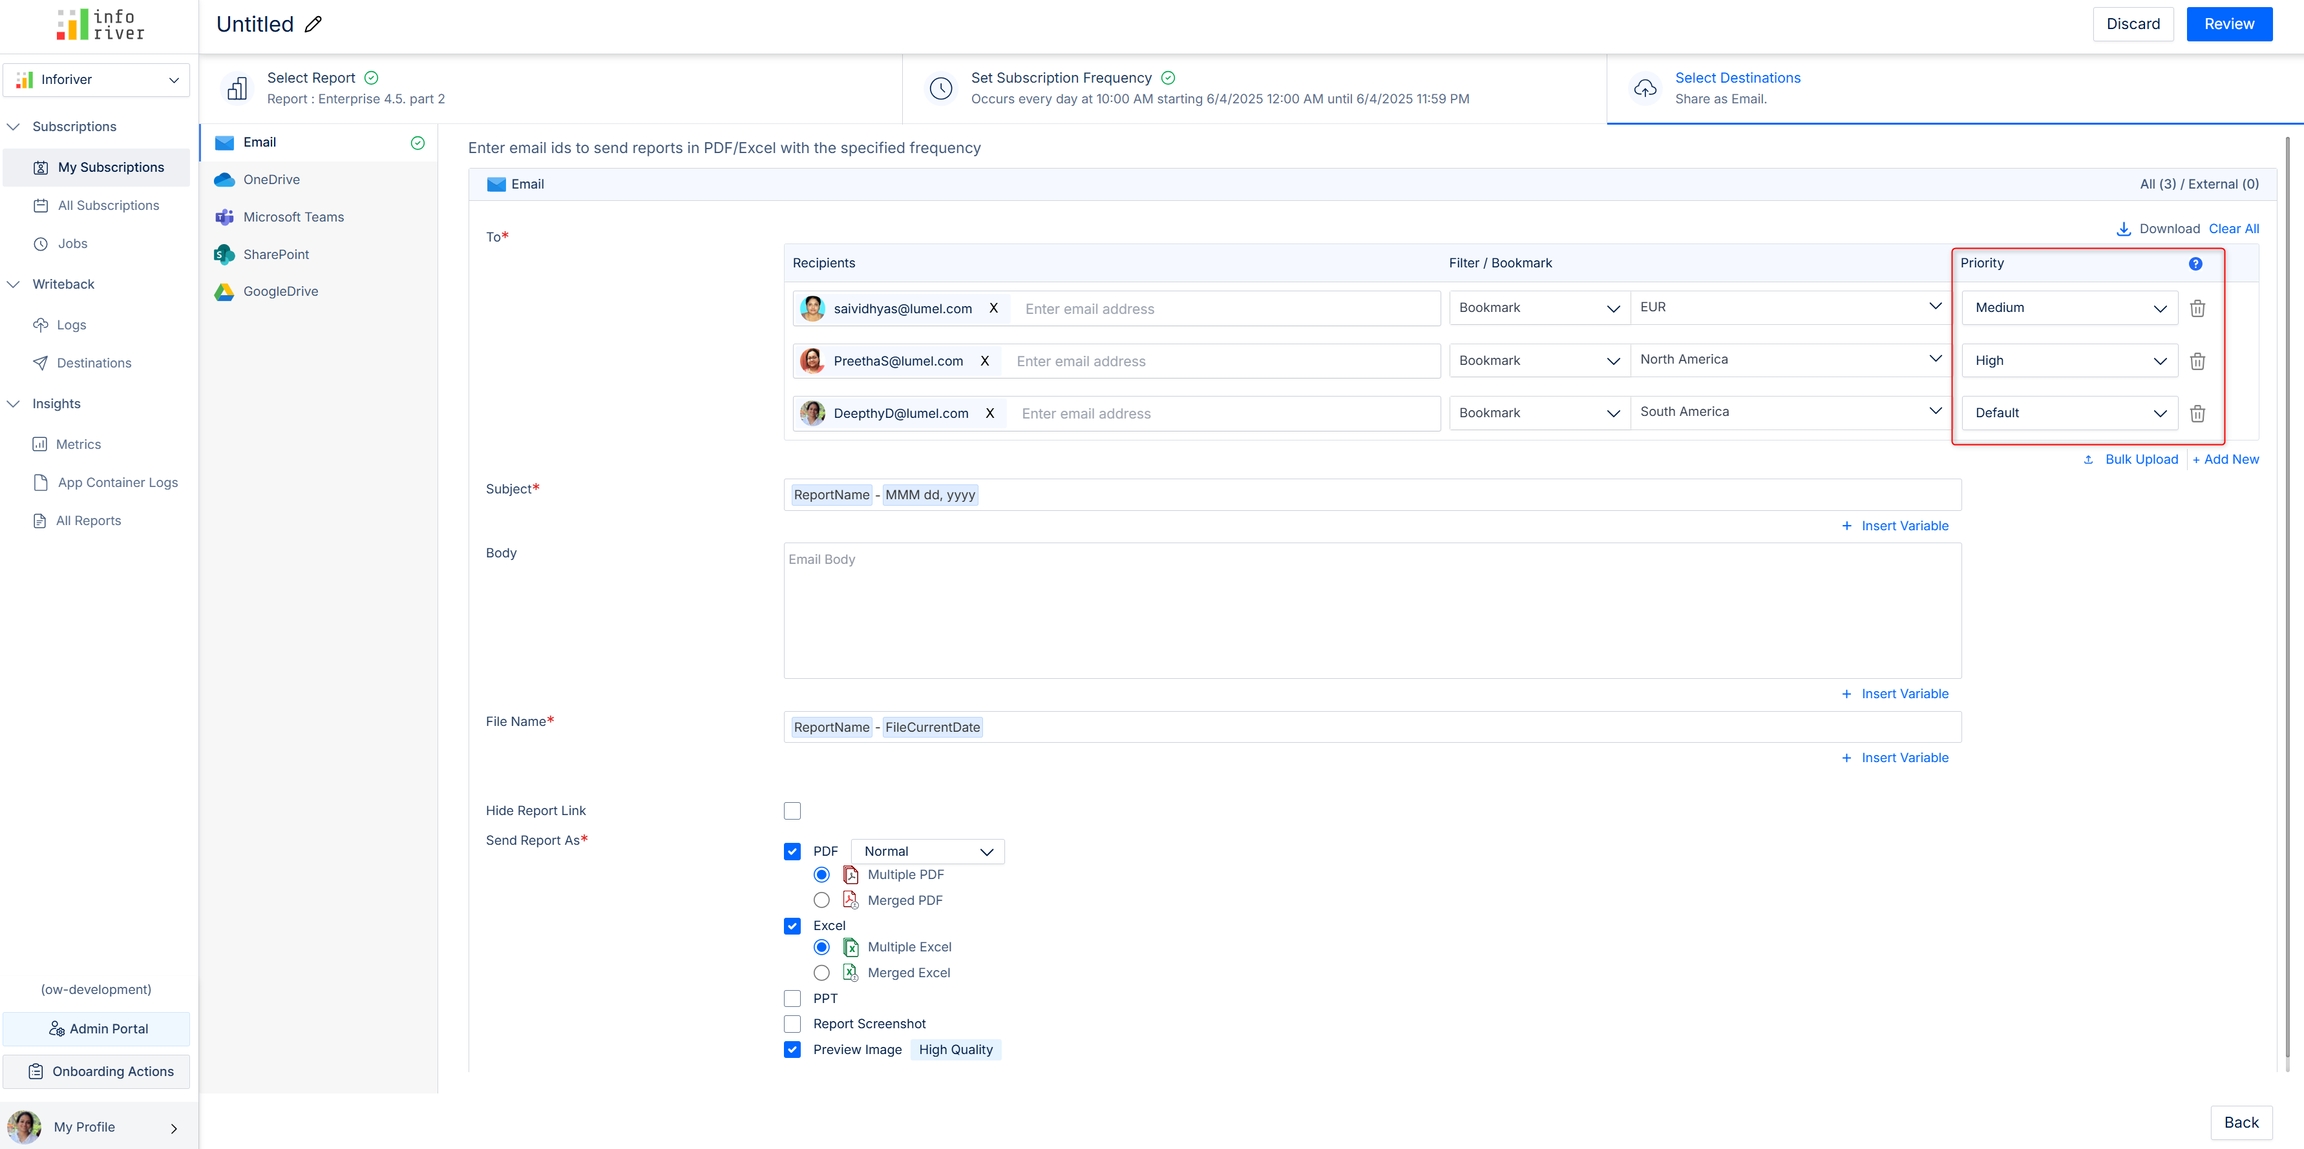
Inforiver provides the capability to export any filters or bookmarks that have been applied to the report, to the chosen destination.
You can apply filters on your reports if you want to expose specific dimension categories, for example, if you have multiple regions covered in your report, you can choose to expose selected regions in subscriptions.
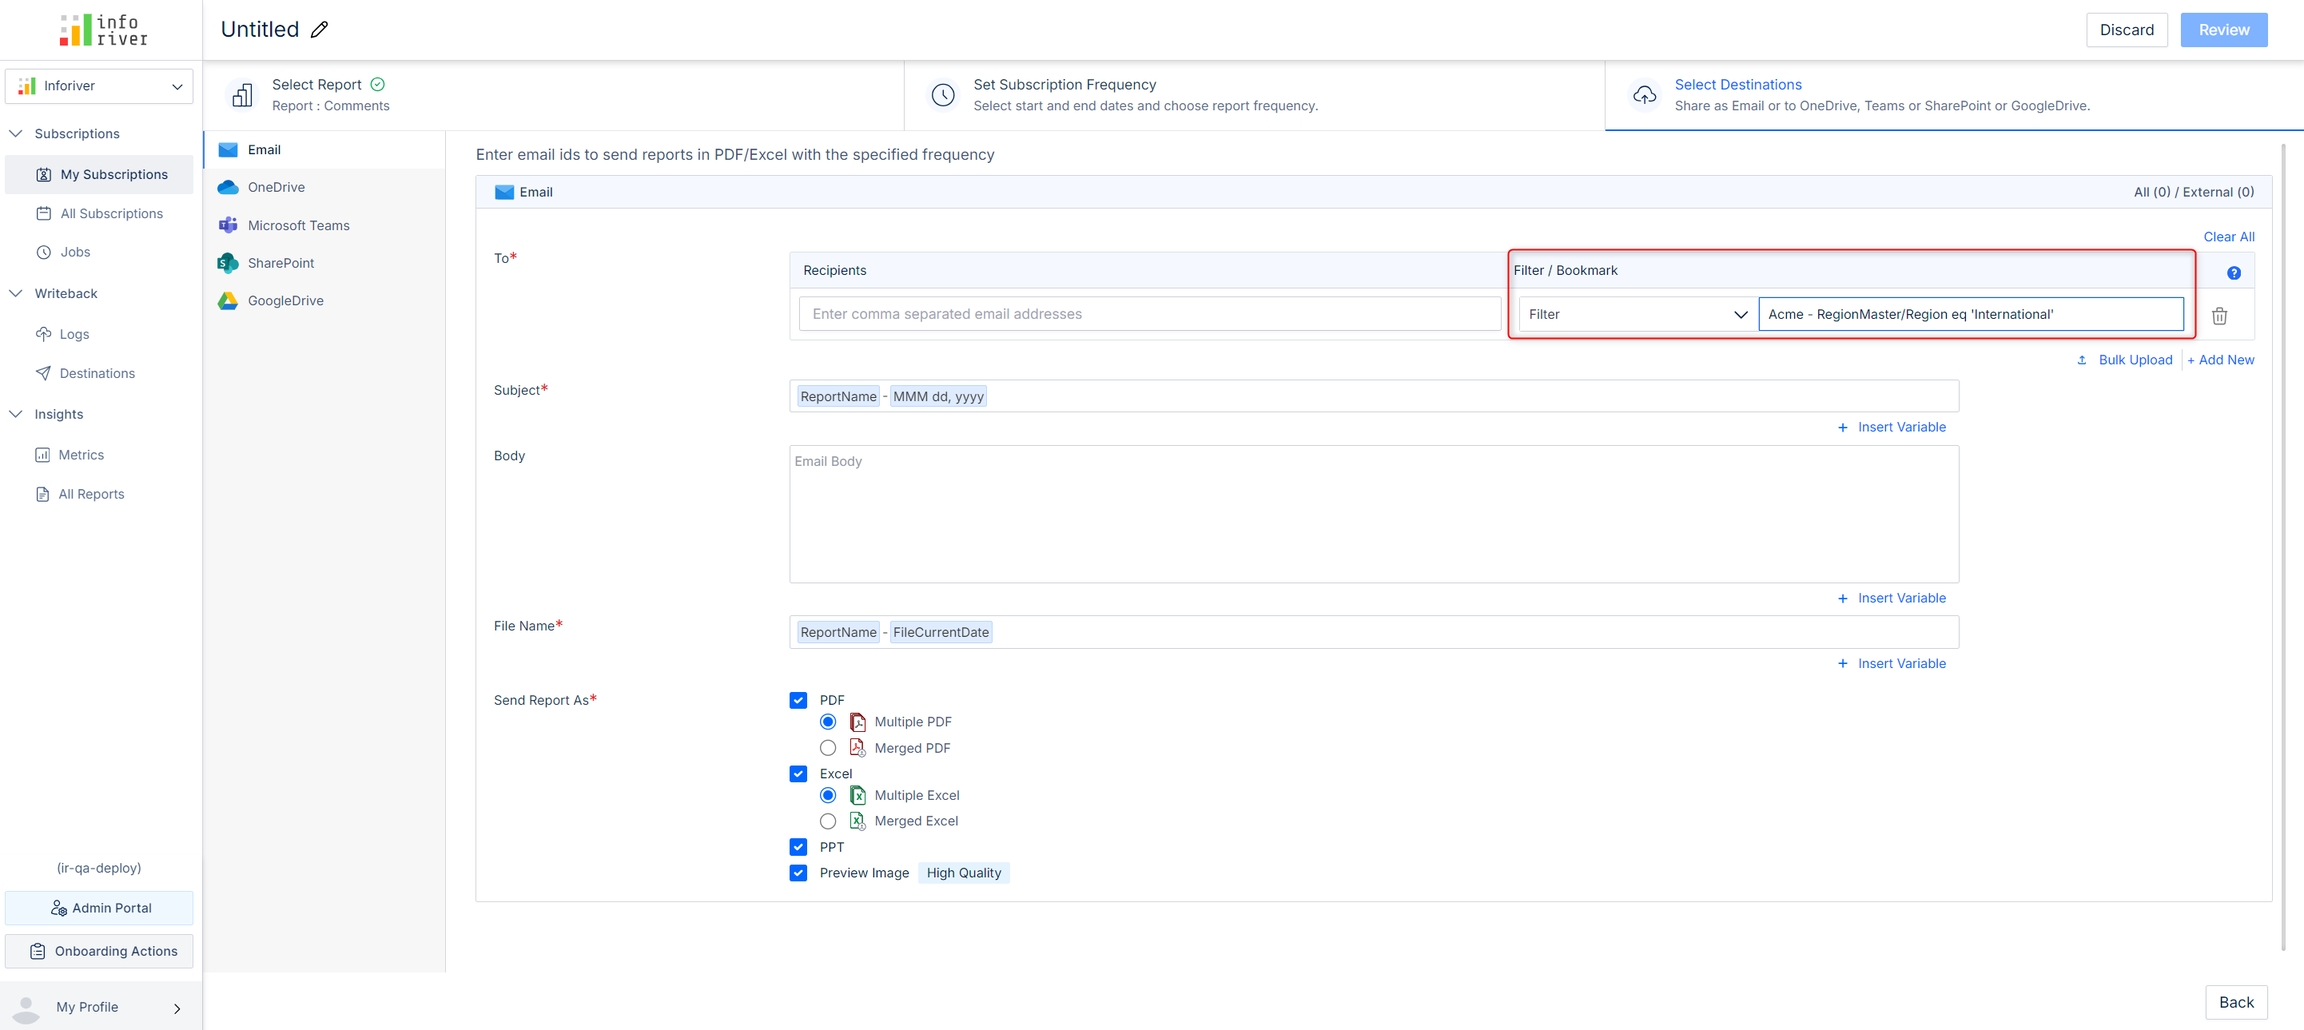
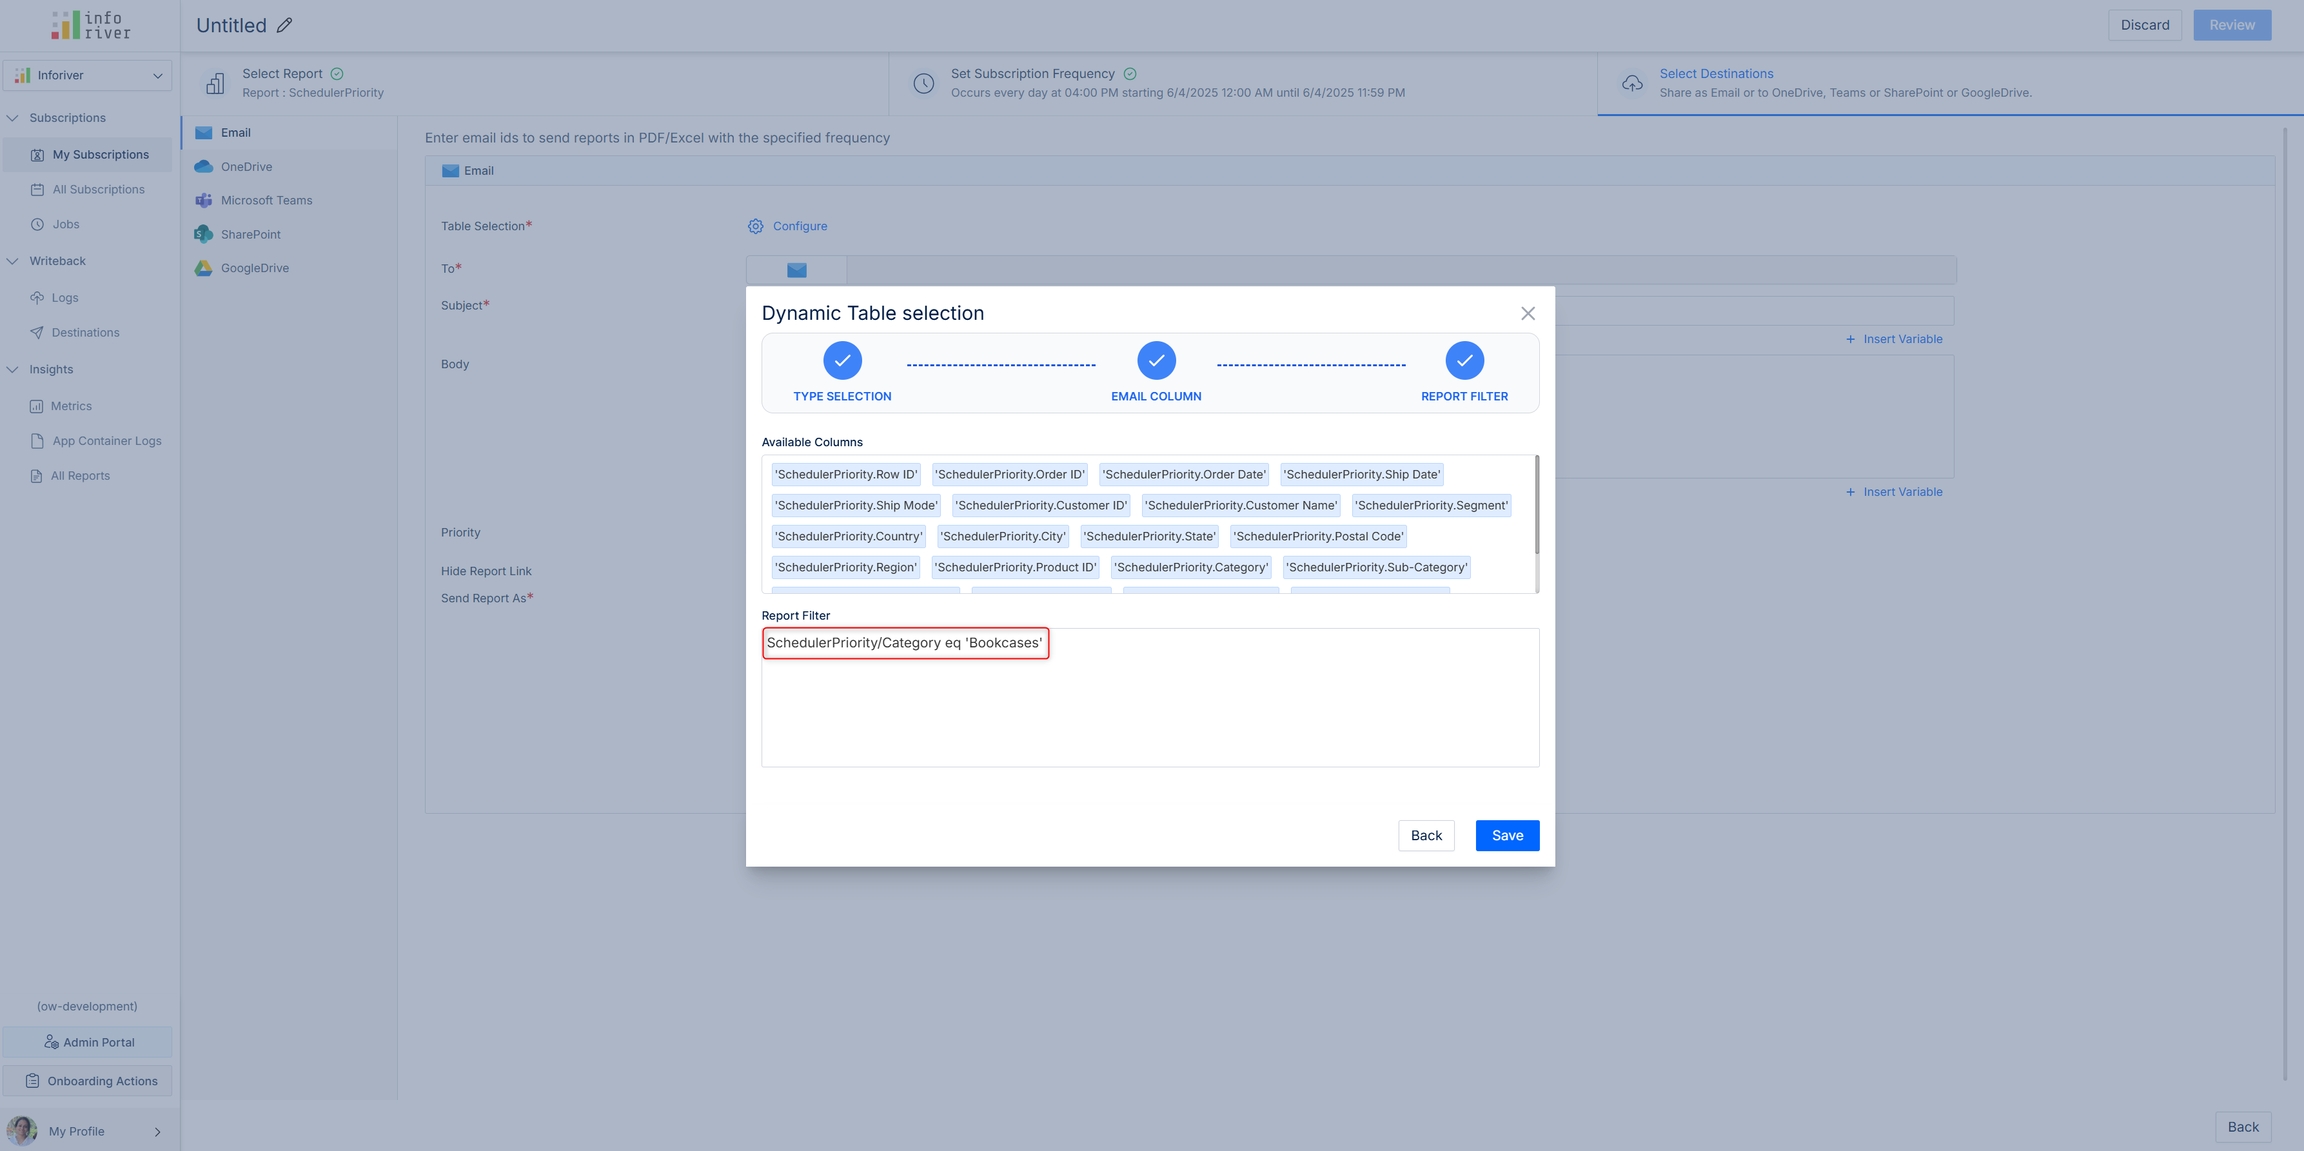
When you set the Filter/Bookmark option to 'Filter', a new input field becomes available next to the drop-down. In this field, you can specify the queries to filter the report. The syntax for specifying a filter is Table/Field eq 'value'.
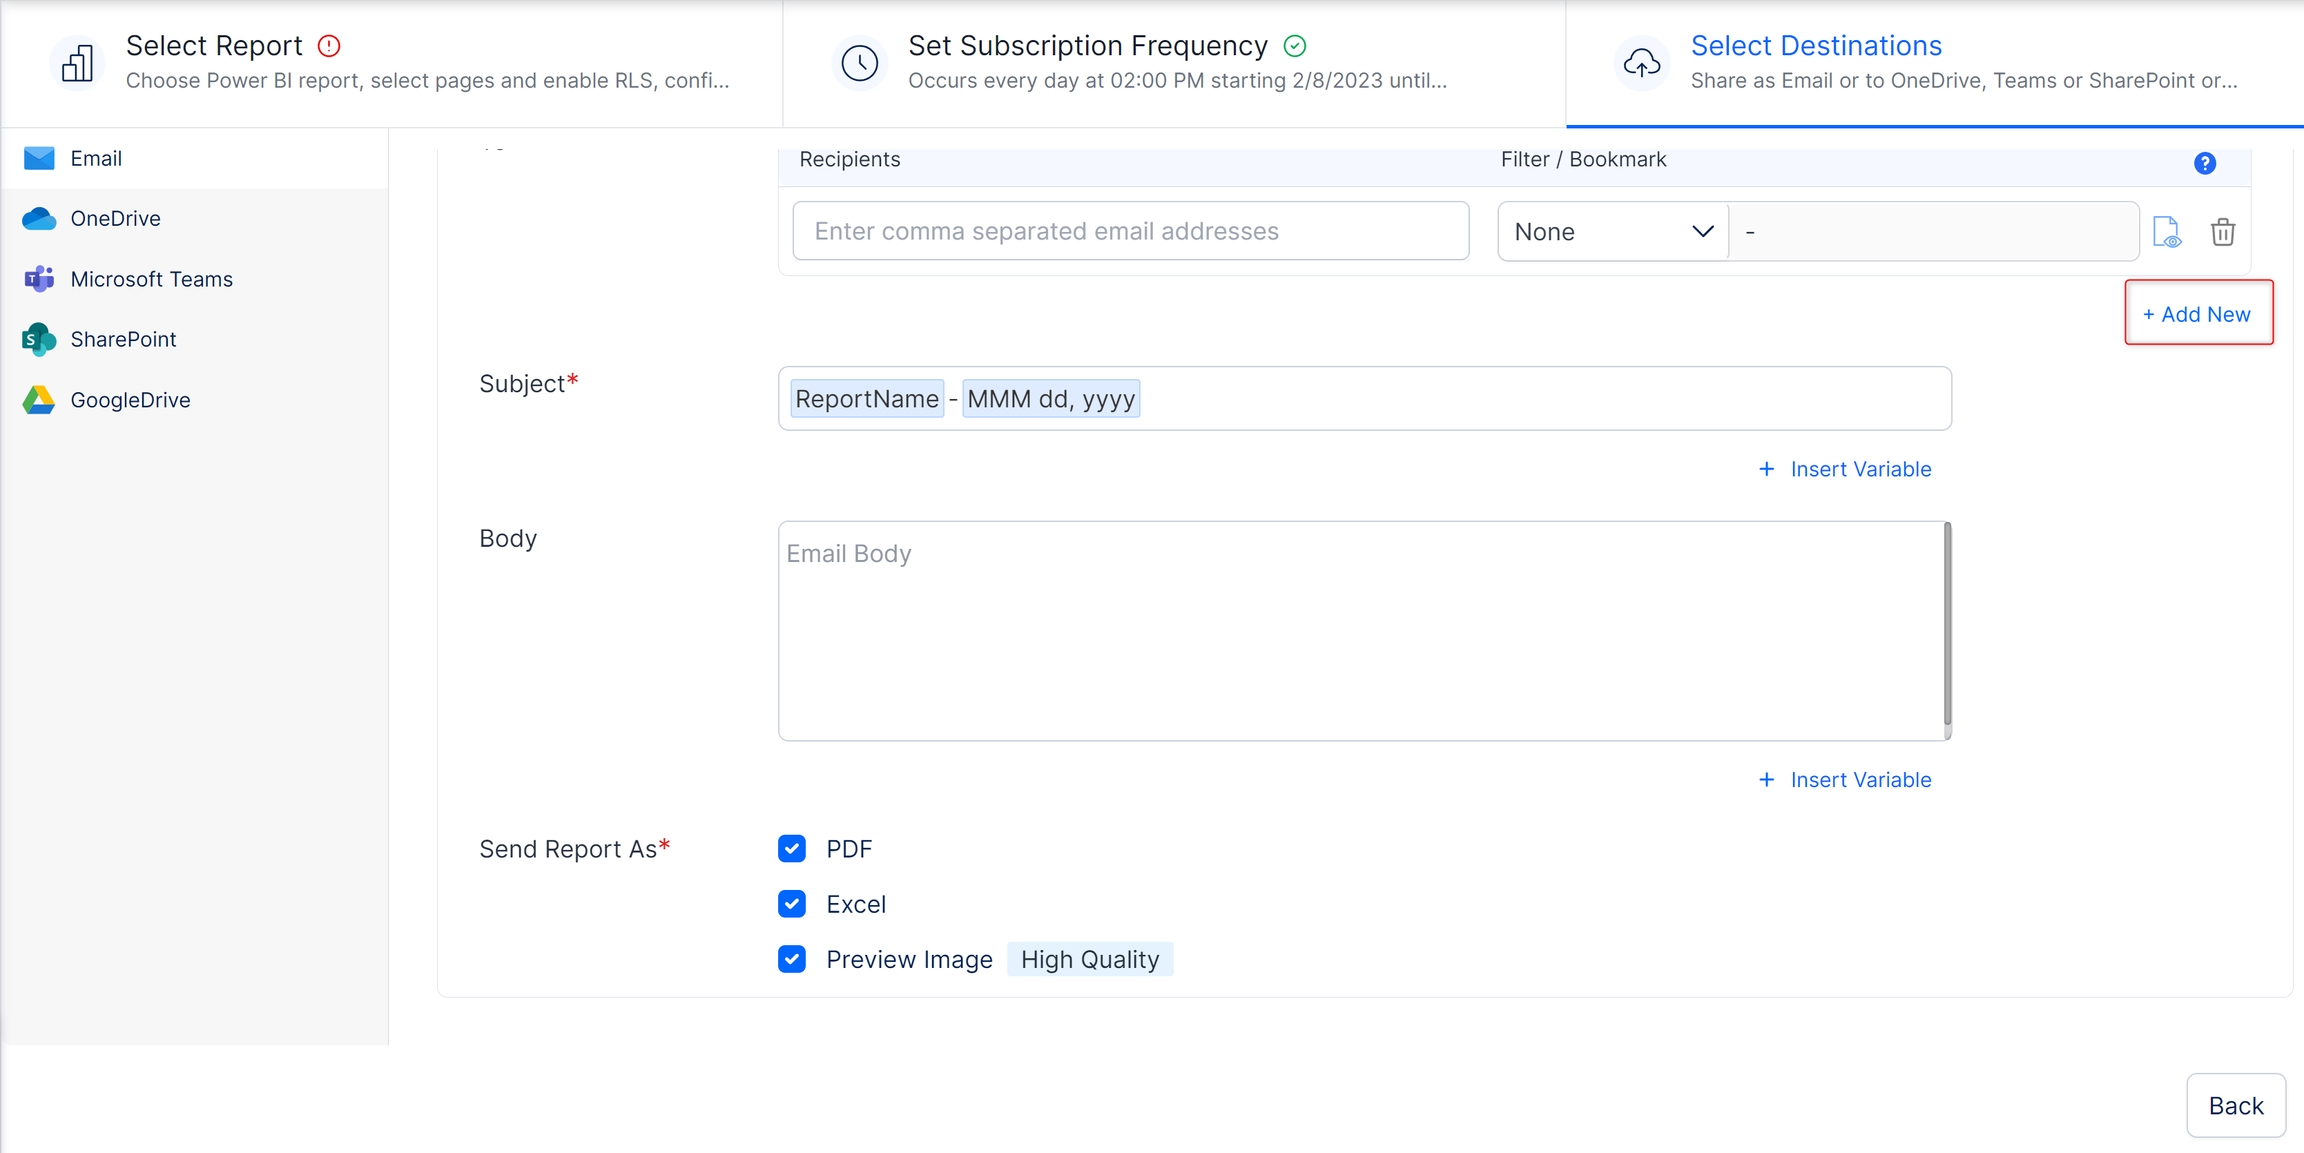
Click the 'Add new' option to add an additional filter/bookmark.
You can select the bookmark option to include the configured bookmarks in the scheduled reports.
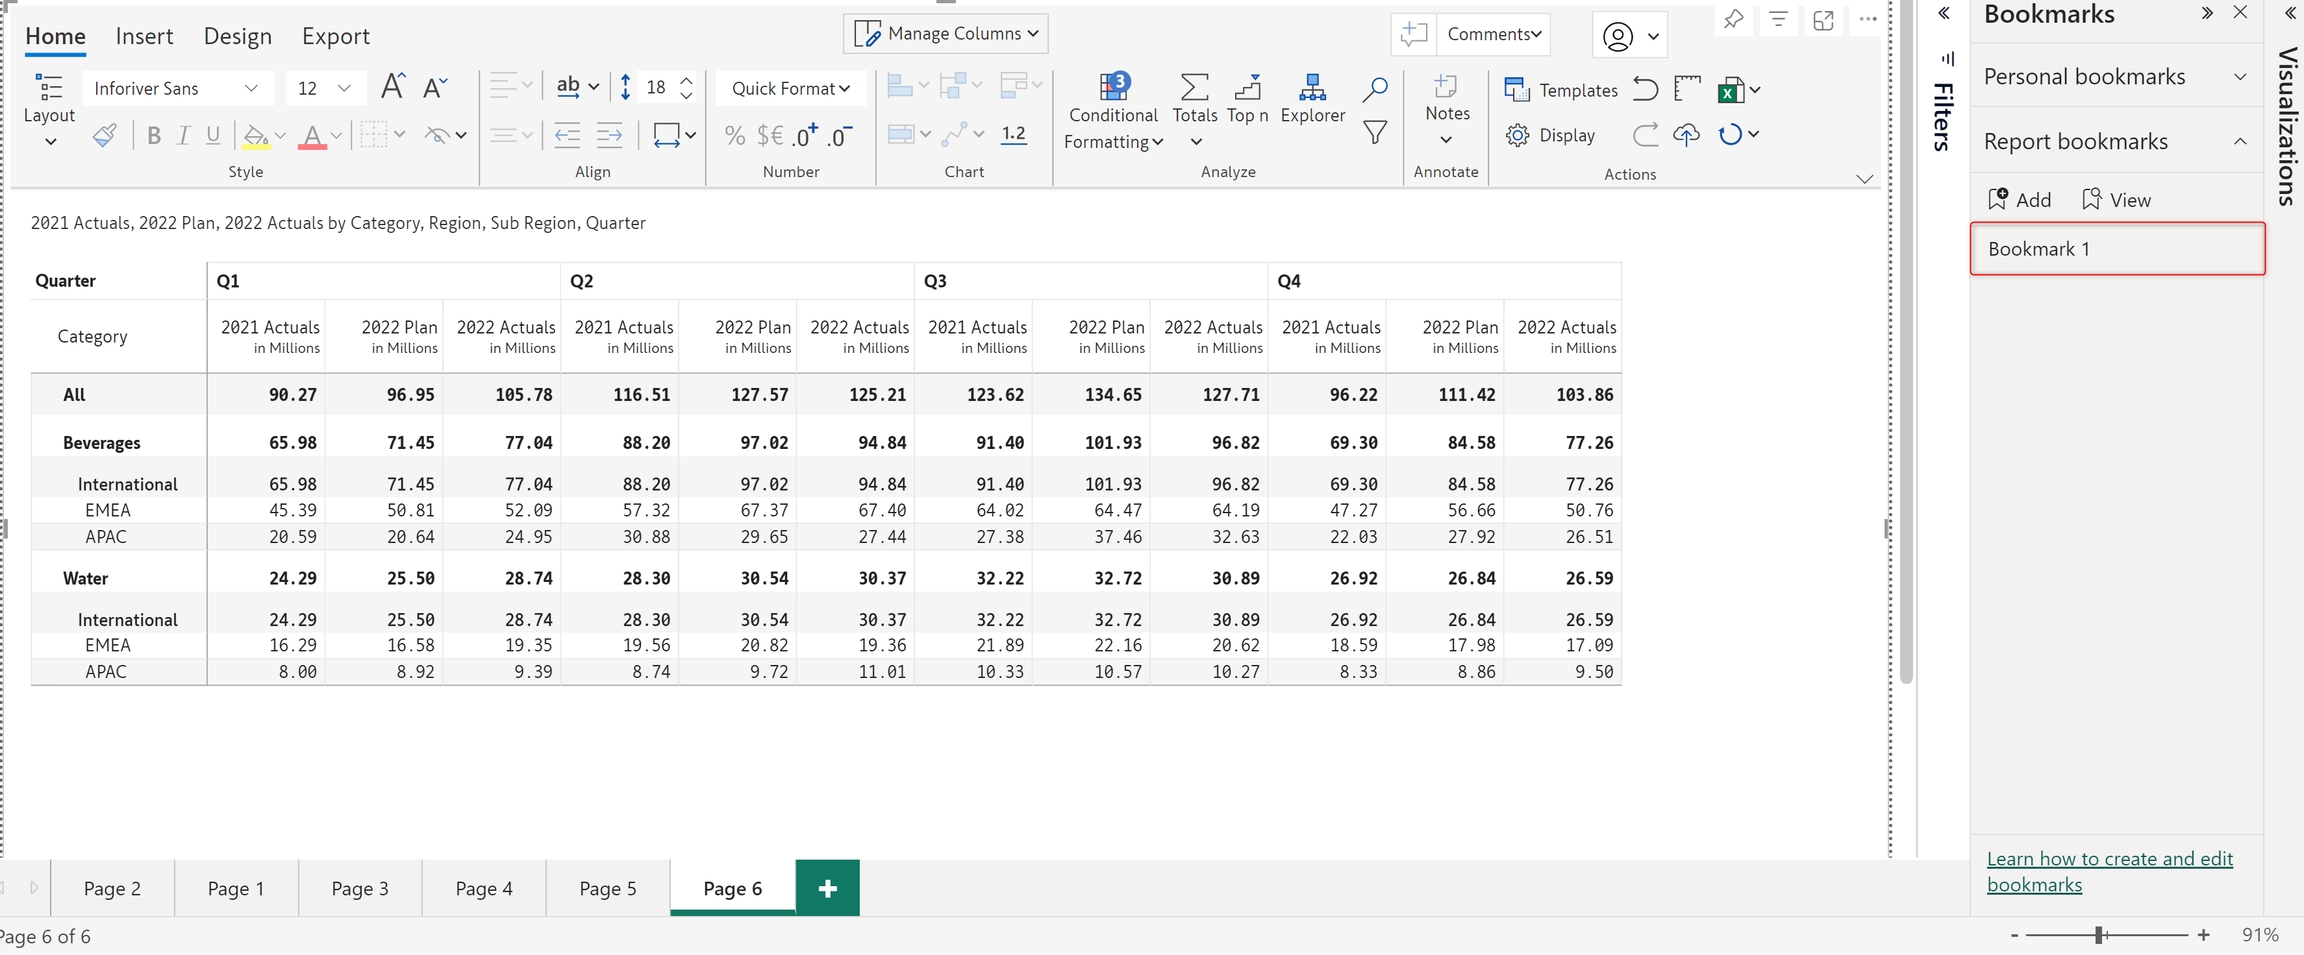
A bookmark has been created for the report as shown in the image below.
The bookmark option will be available if you have added and configured a bookmark in your report.
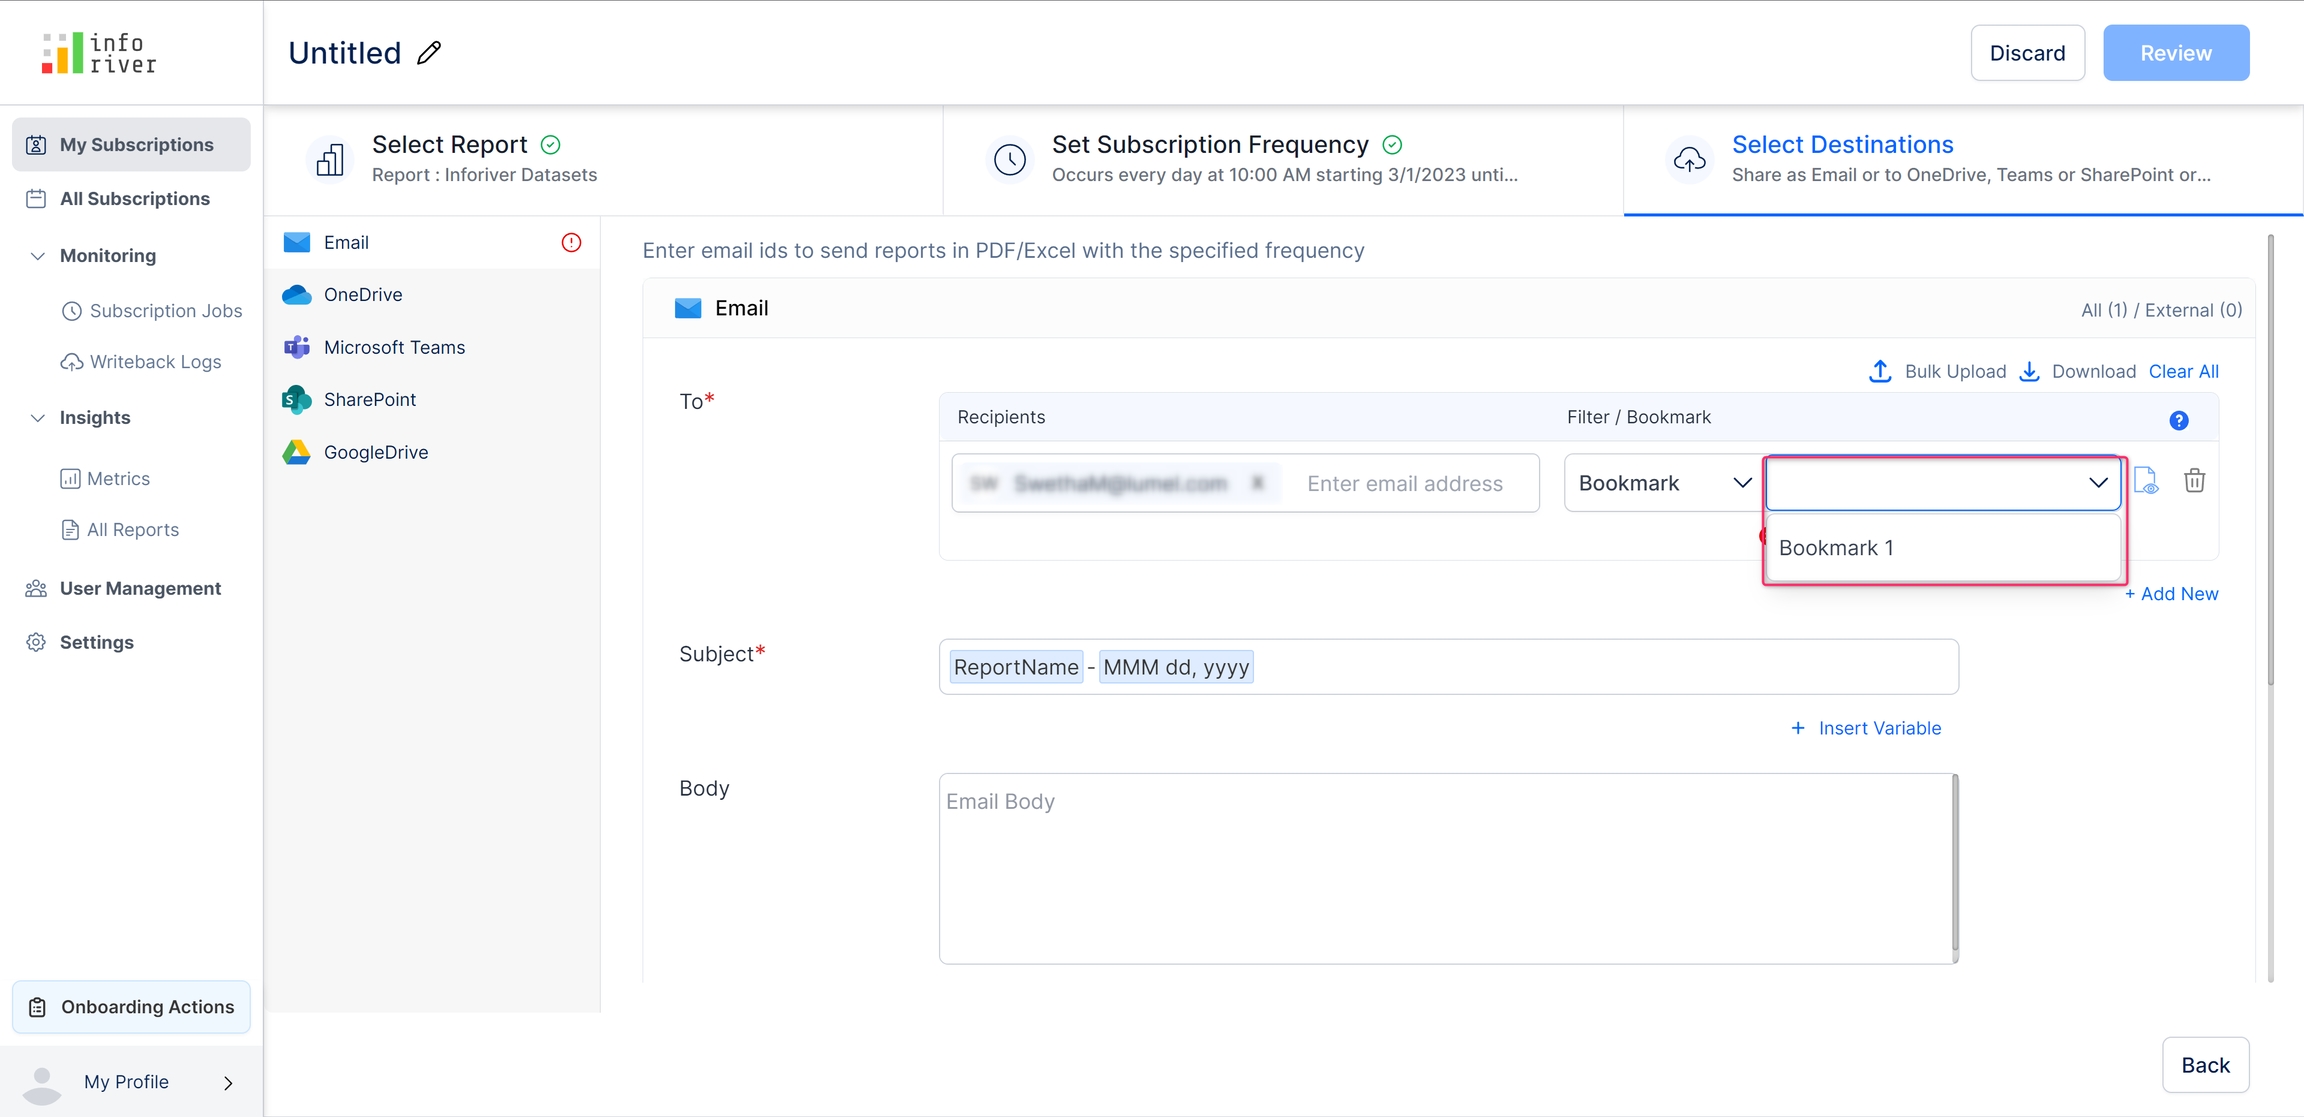
Once you select the bookmark option, the second drop-down gets populated with all the configured bookmarks in the report.
You can also bulk upload a CSV file containing the filters and bookmarks applied on the report. Click the 'Bulk upload' option. This will open up the bulk upload modal as shown in the image below.
Click the 'Upload' button or drag and drop to upload the CSV file with the recipient's details.
The CSV file requires the following details:
Email ID: Email ID of the recipient of the report if the selected destination is Email.
Filter: If a filter is applicable, use the format: <Table name>/<Field name> eq 'Value'. Consider a filter applied to select US regions only. If the name of the table is 'Region' and the name of the field is 'Country', the filter value should be Region/Country eq 'US'.
Bookmark: The name of the bookmark, if applied.
Name: A relevant name for the filter or book applied for destinations like Teams, SharePoint and OneDrive.
Download sample
Click 'Download sample' to download a sample CSV document to understand how the uploaded CSV file should be structured. The image below displays the structure of the download sample CSV file for Emails:
The image below displays the structure of the download sample CSV file for OneDrive/Teams/SharePoint:
If you have bookmarks and filters in your reports, you can set individual priorities for each. The priorities set for bookmarks/filters will be automatically cascaded across all destinations; i.e., if you set the priority for an email destination, it will be replicated across all other destinations.
With dynamic subscriptions, you can regulate the dimension categories shared with users. With dynamic subscriptions, Inforiver can detect email IDs from your semantic models/CSV files and implicitly send the relevant records to the corresponding users.
The 'Select Destinations' page has a 'Table Selection' option as shown below when you choose dynamic subscription.
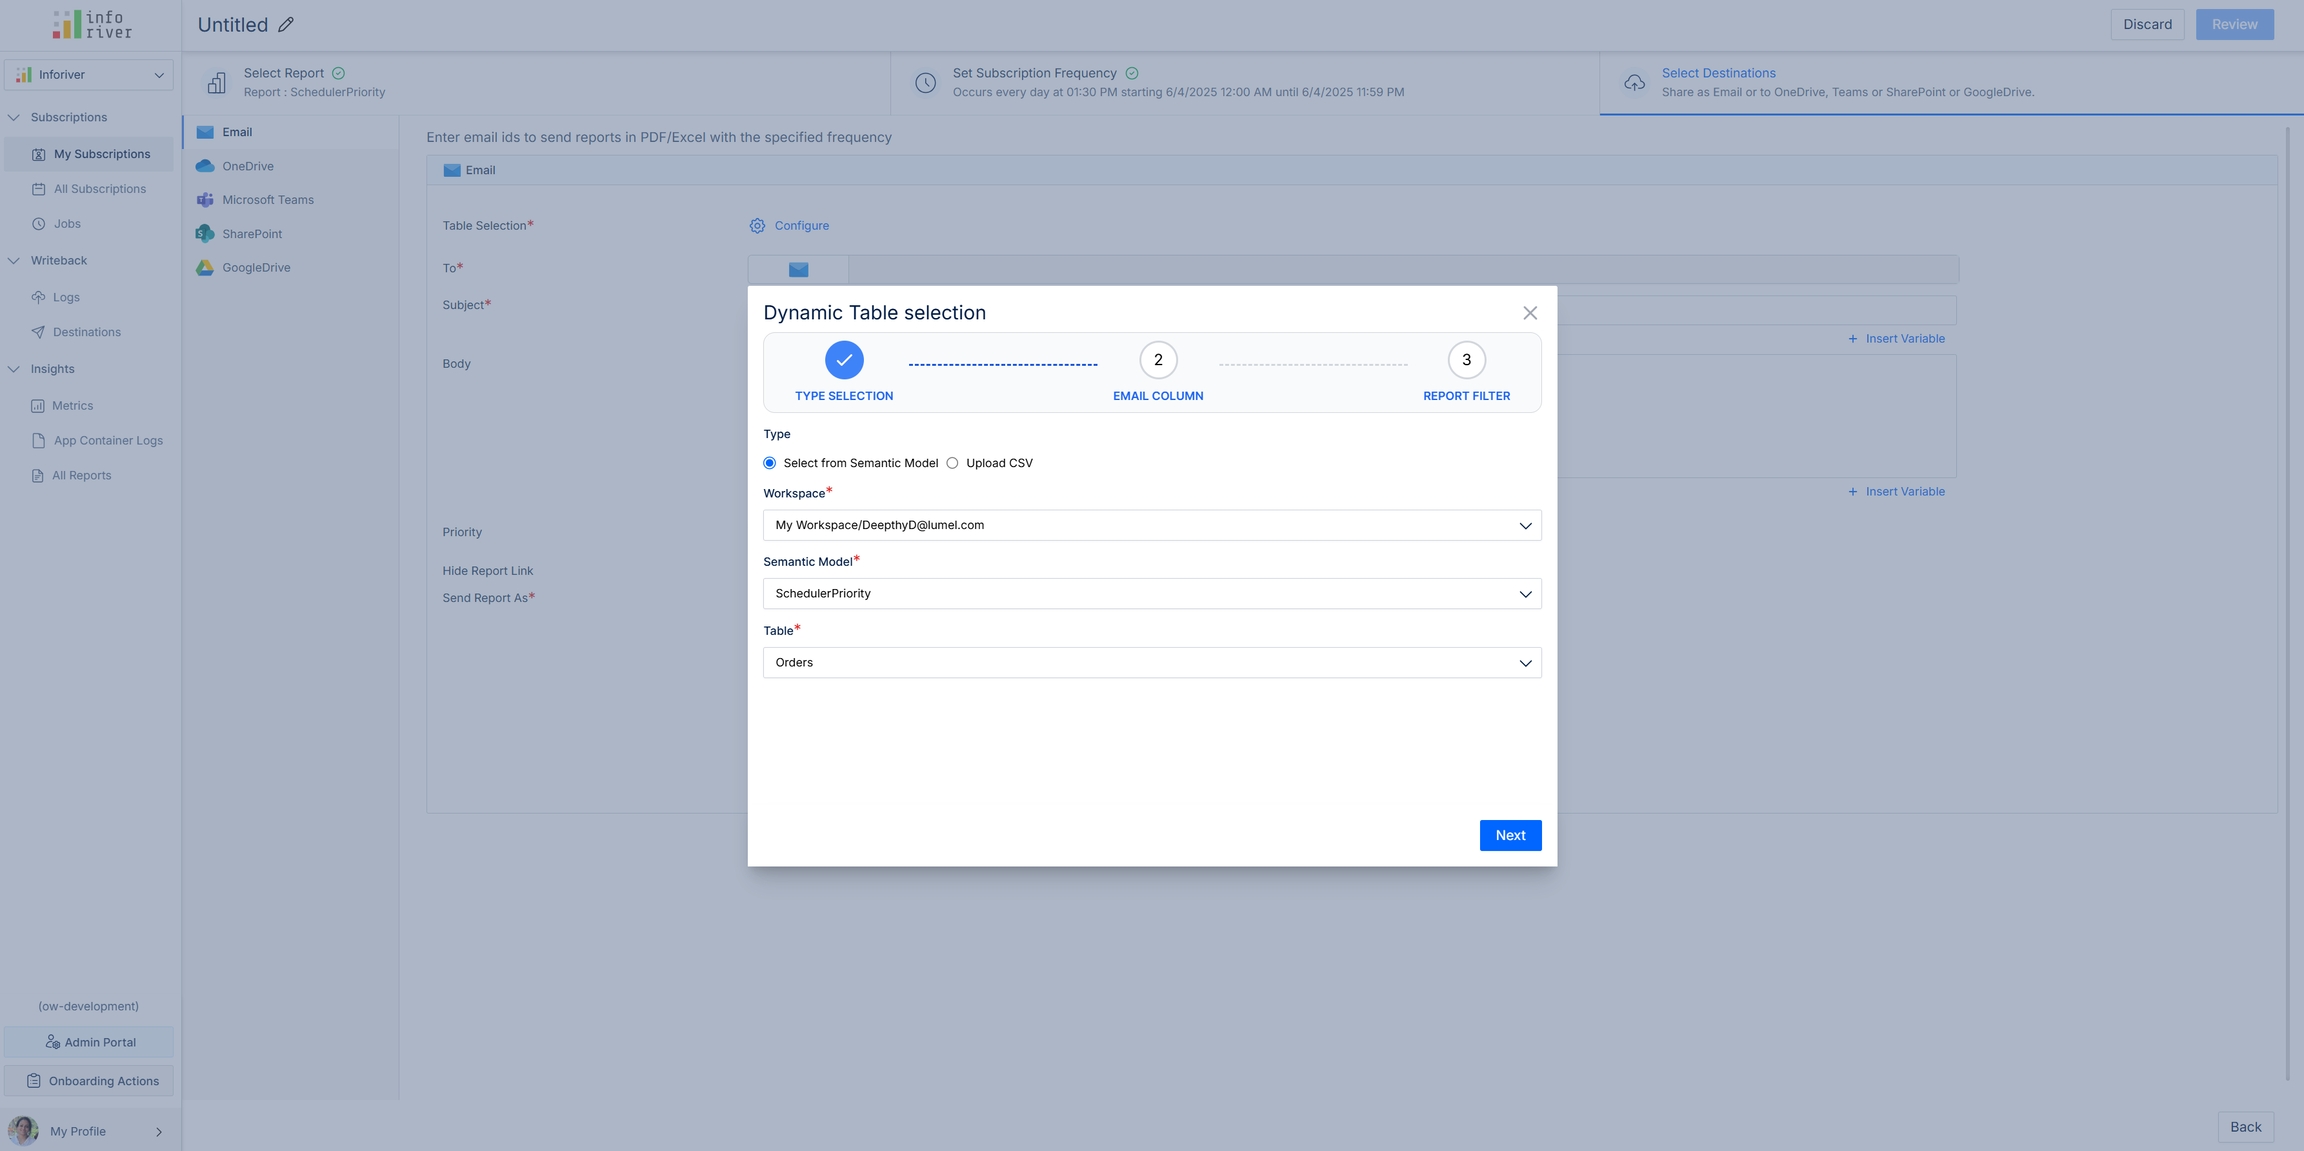
When you click Configure, a pop-up appears where you can configure the table either from a semantic model or from a CSV file. We will demonstrate with an example using the semantic model option. The procedure is the same for CSV file uploads as well.
To select the table from the semantic model, choose 'Select from Semantic Model'.
Select the workspace, semantic model, and table.
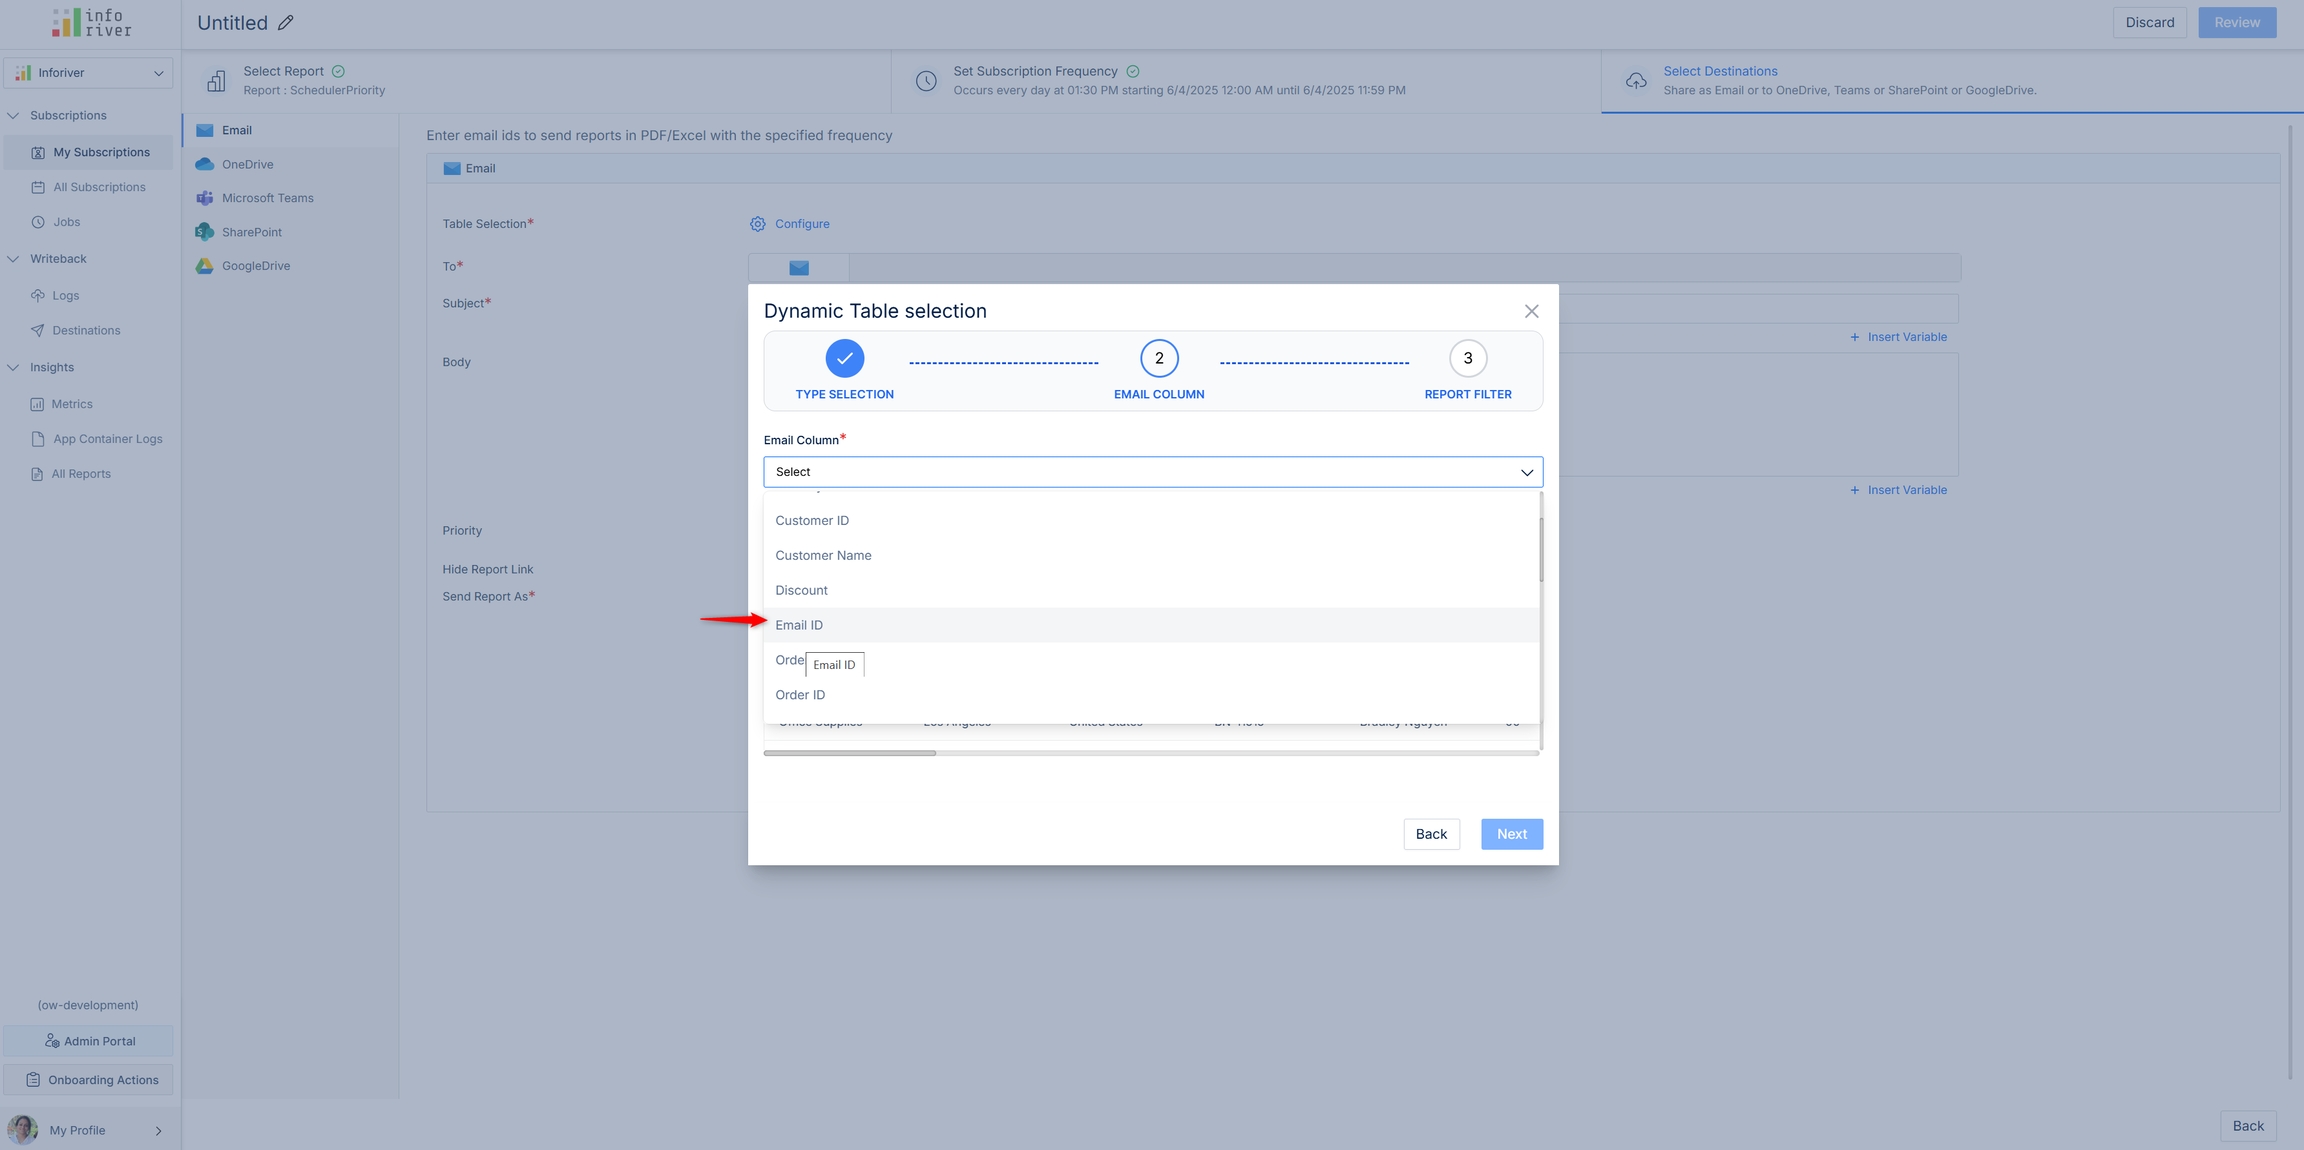
Select the column that contains Email IDs.
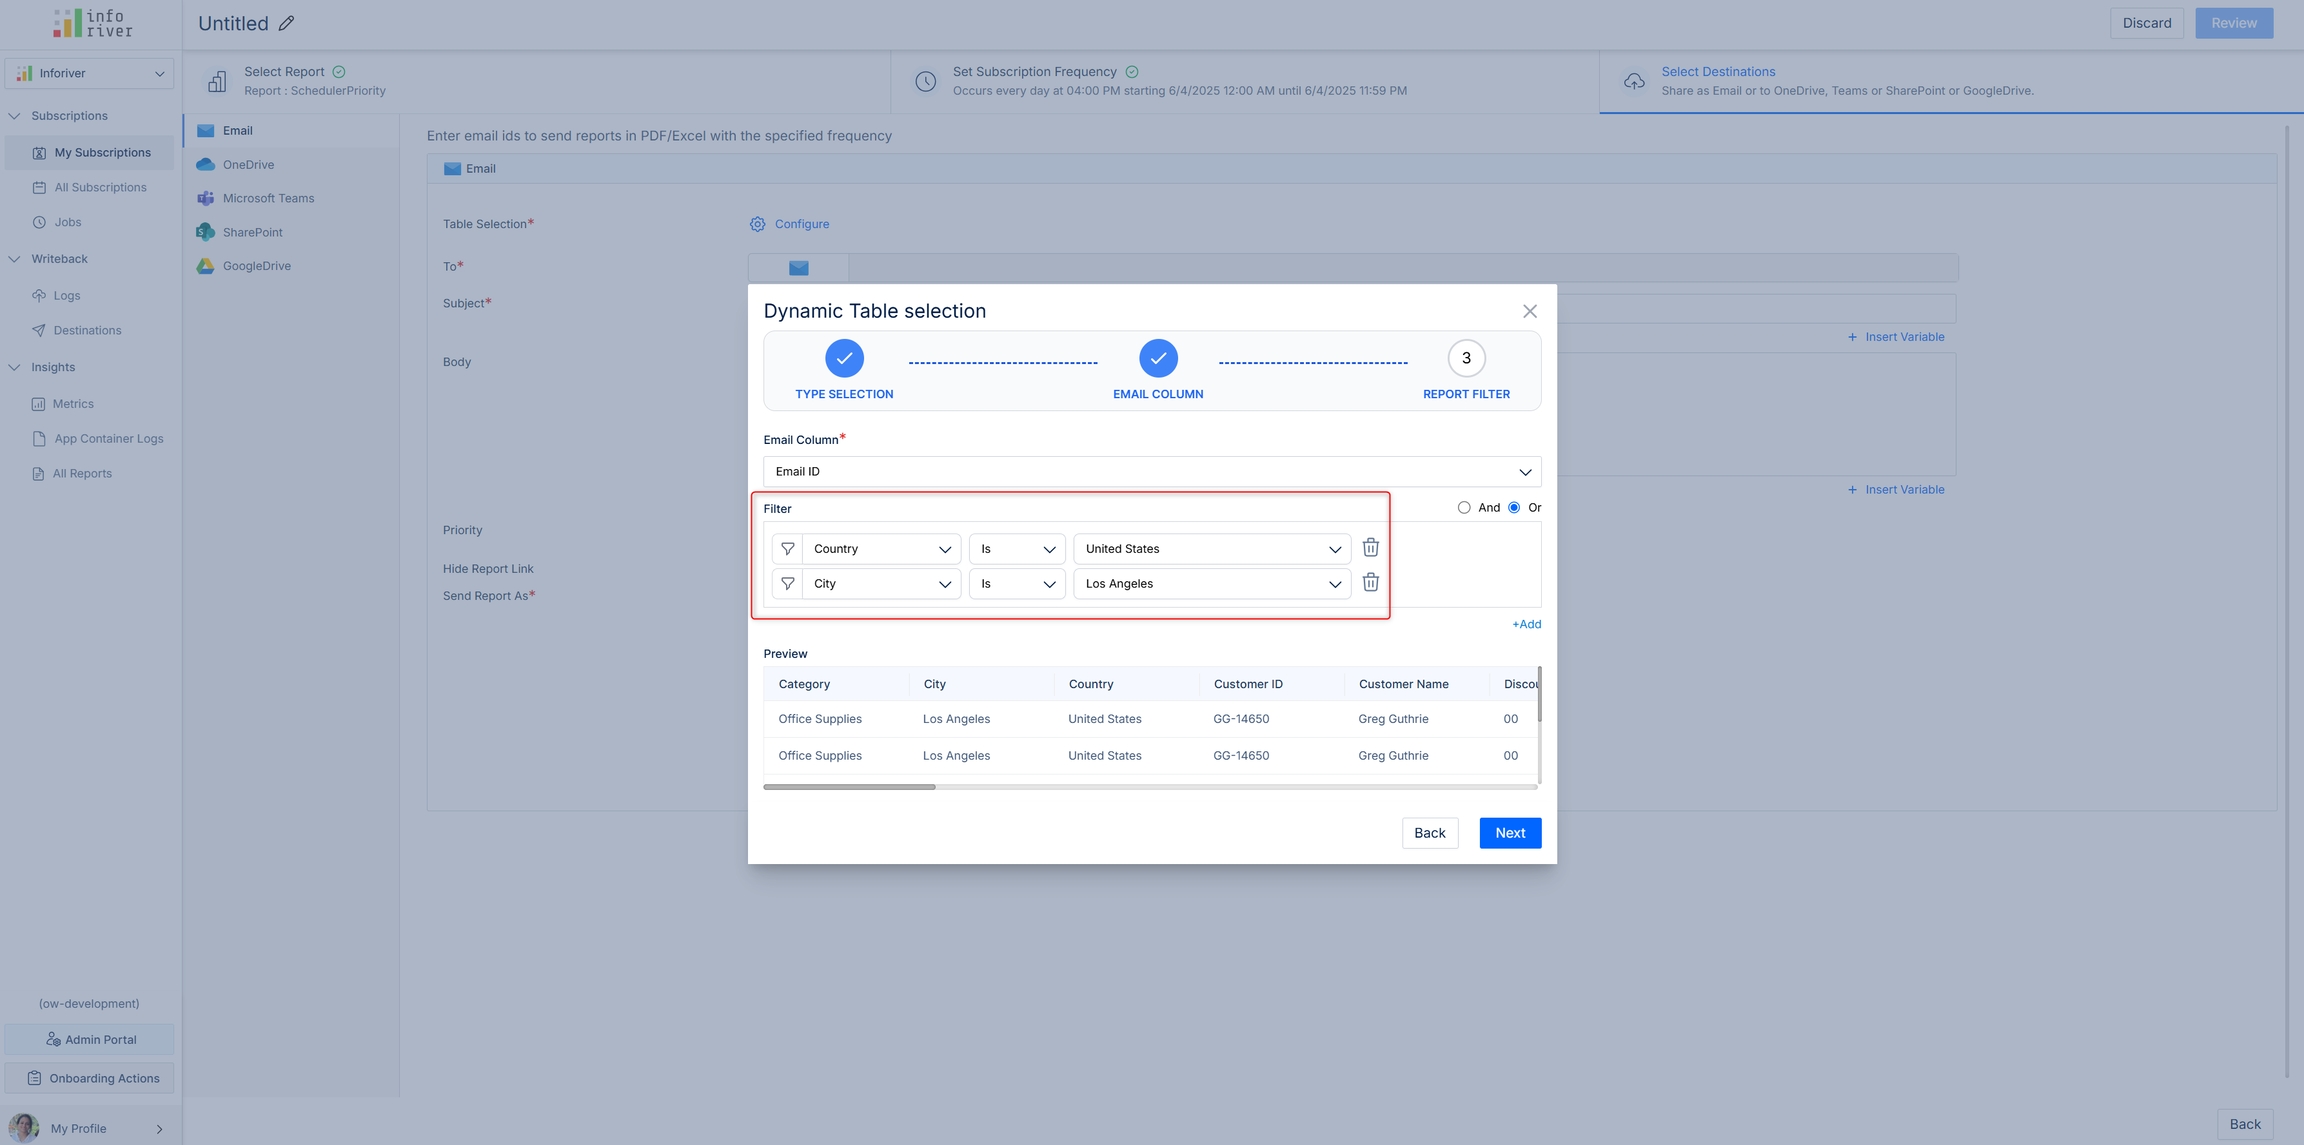
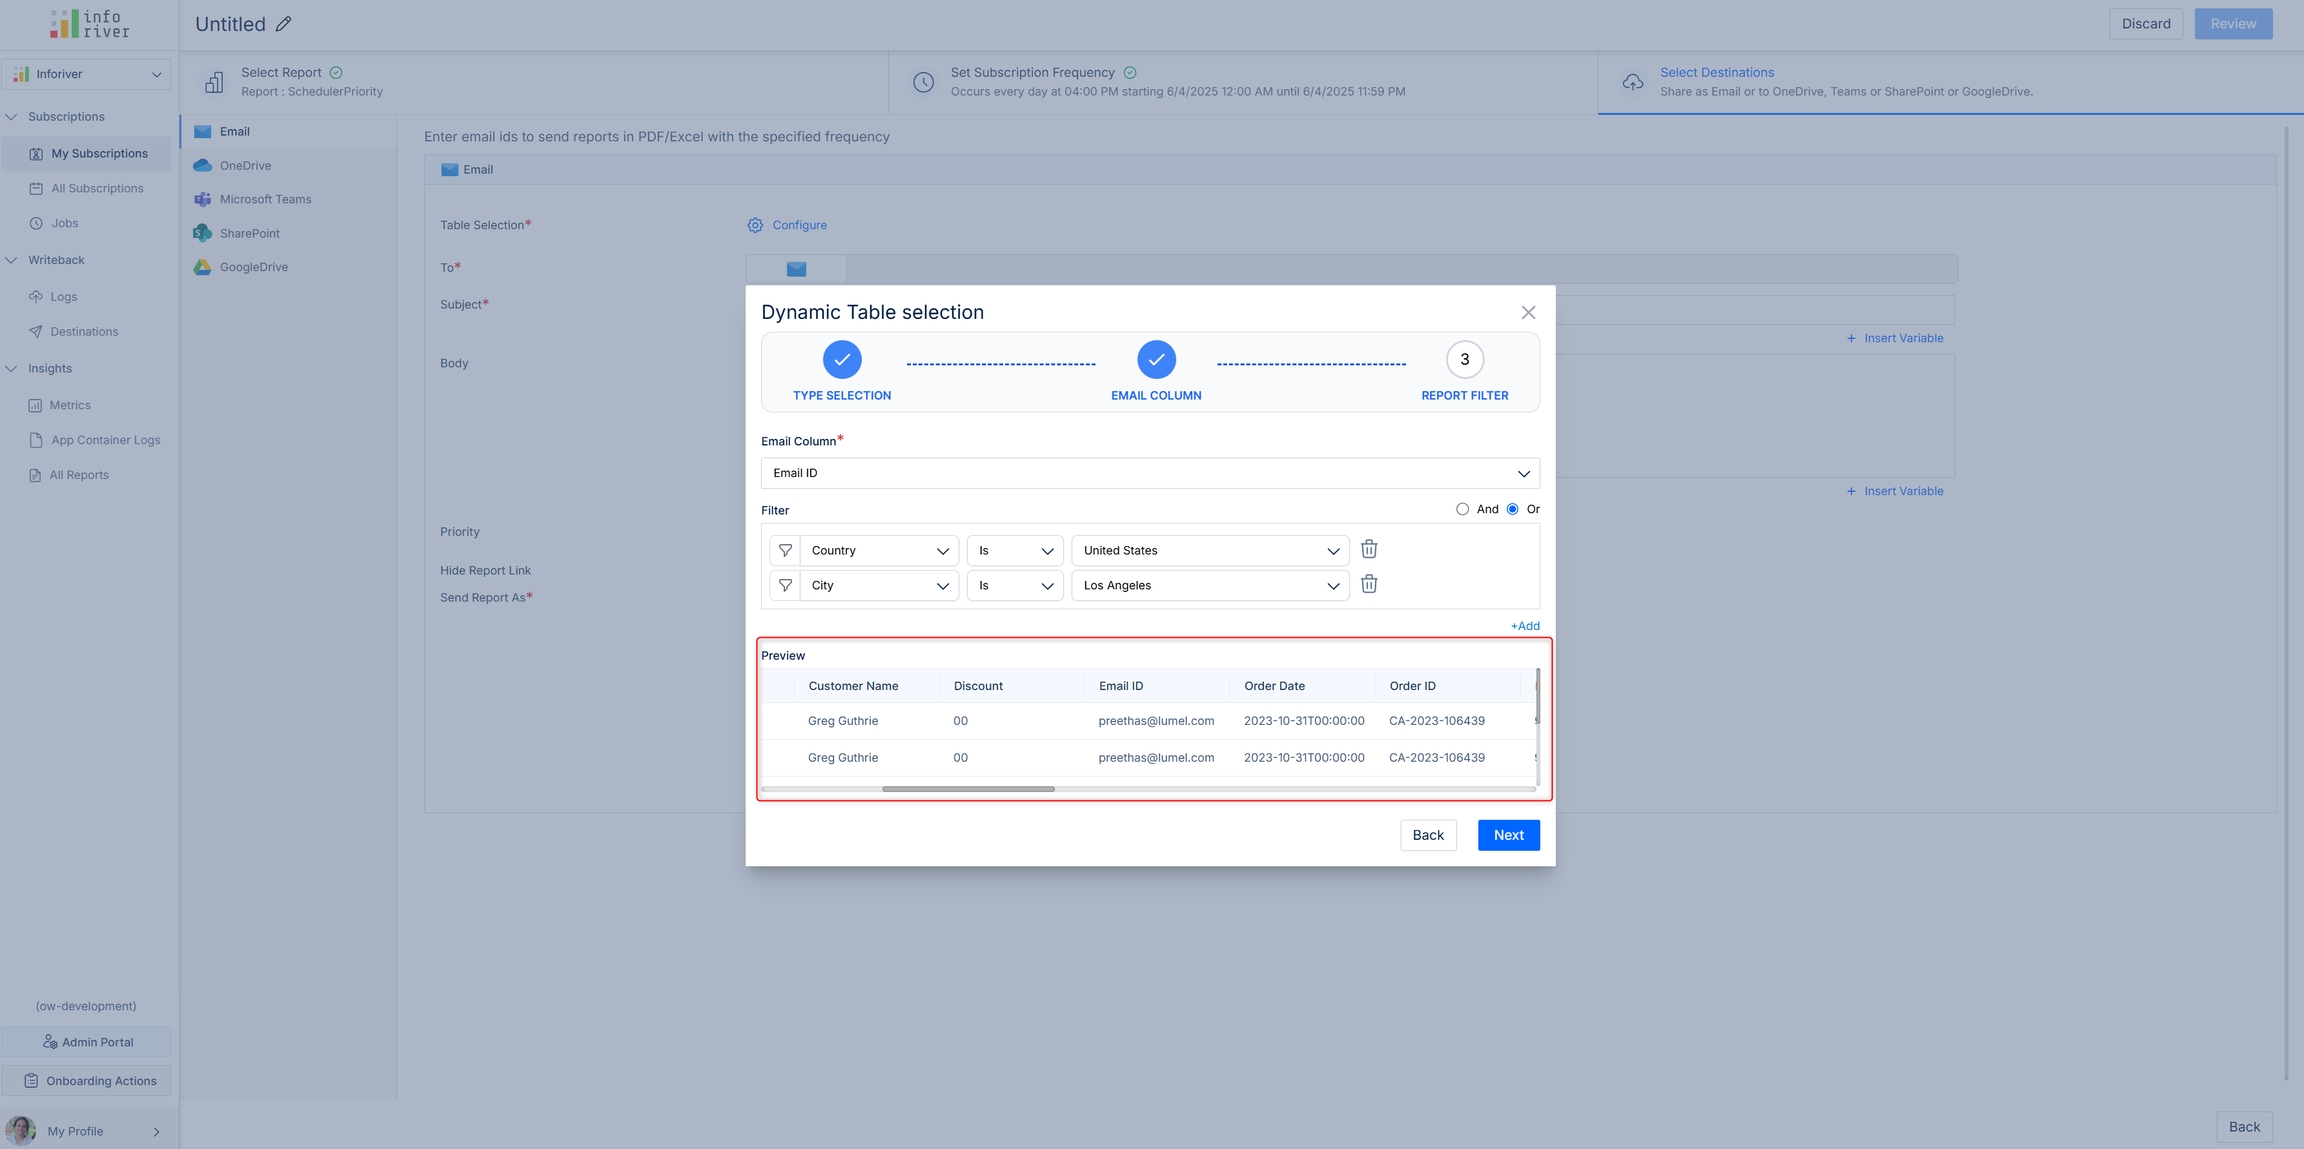
Set up a filter on the semantic model/CSV - the subscription will be sent only to those Email IDs. In this example, we are only sending the data for the Email IDs under United States and Los Angeles.
The preview section shows the records that will be shared with a specific Email ID. Click Next.
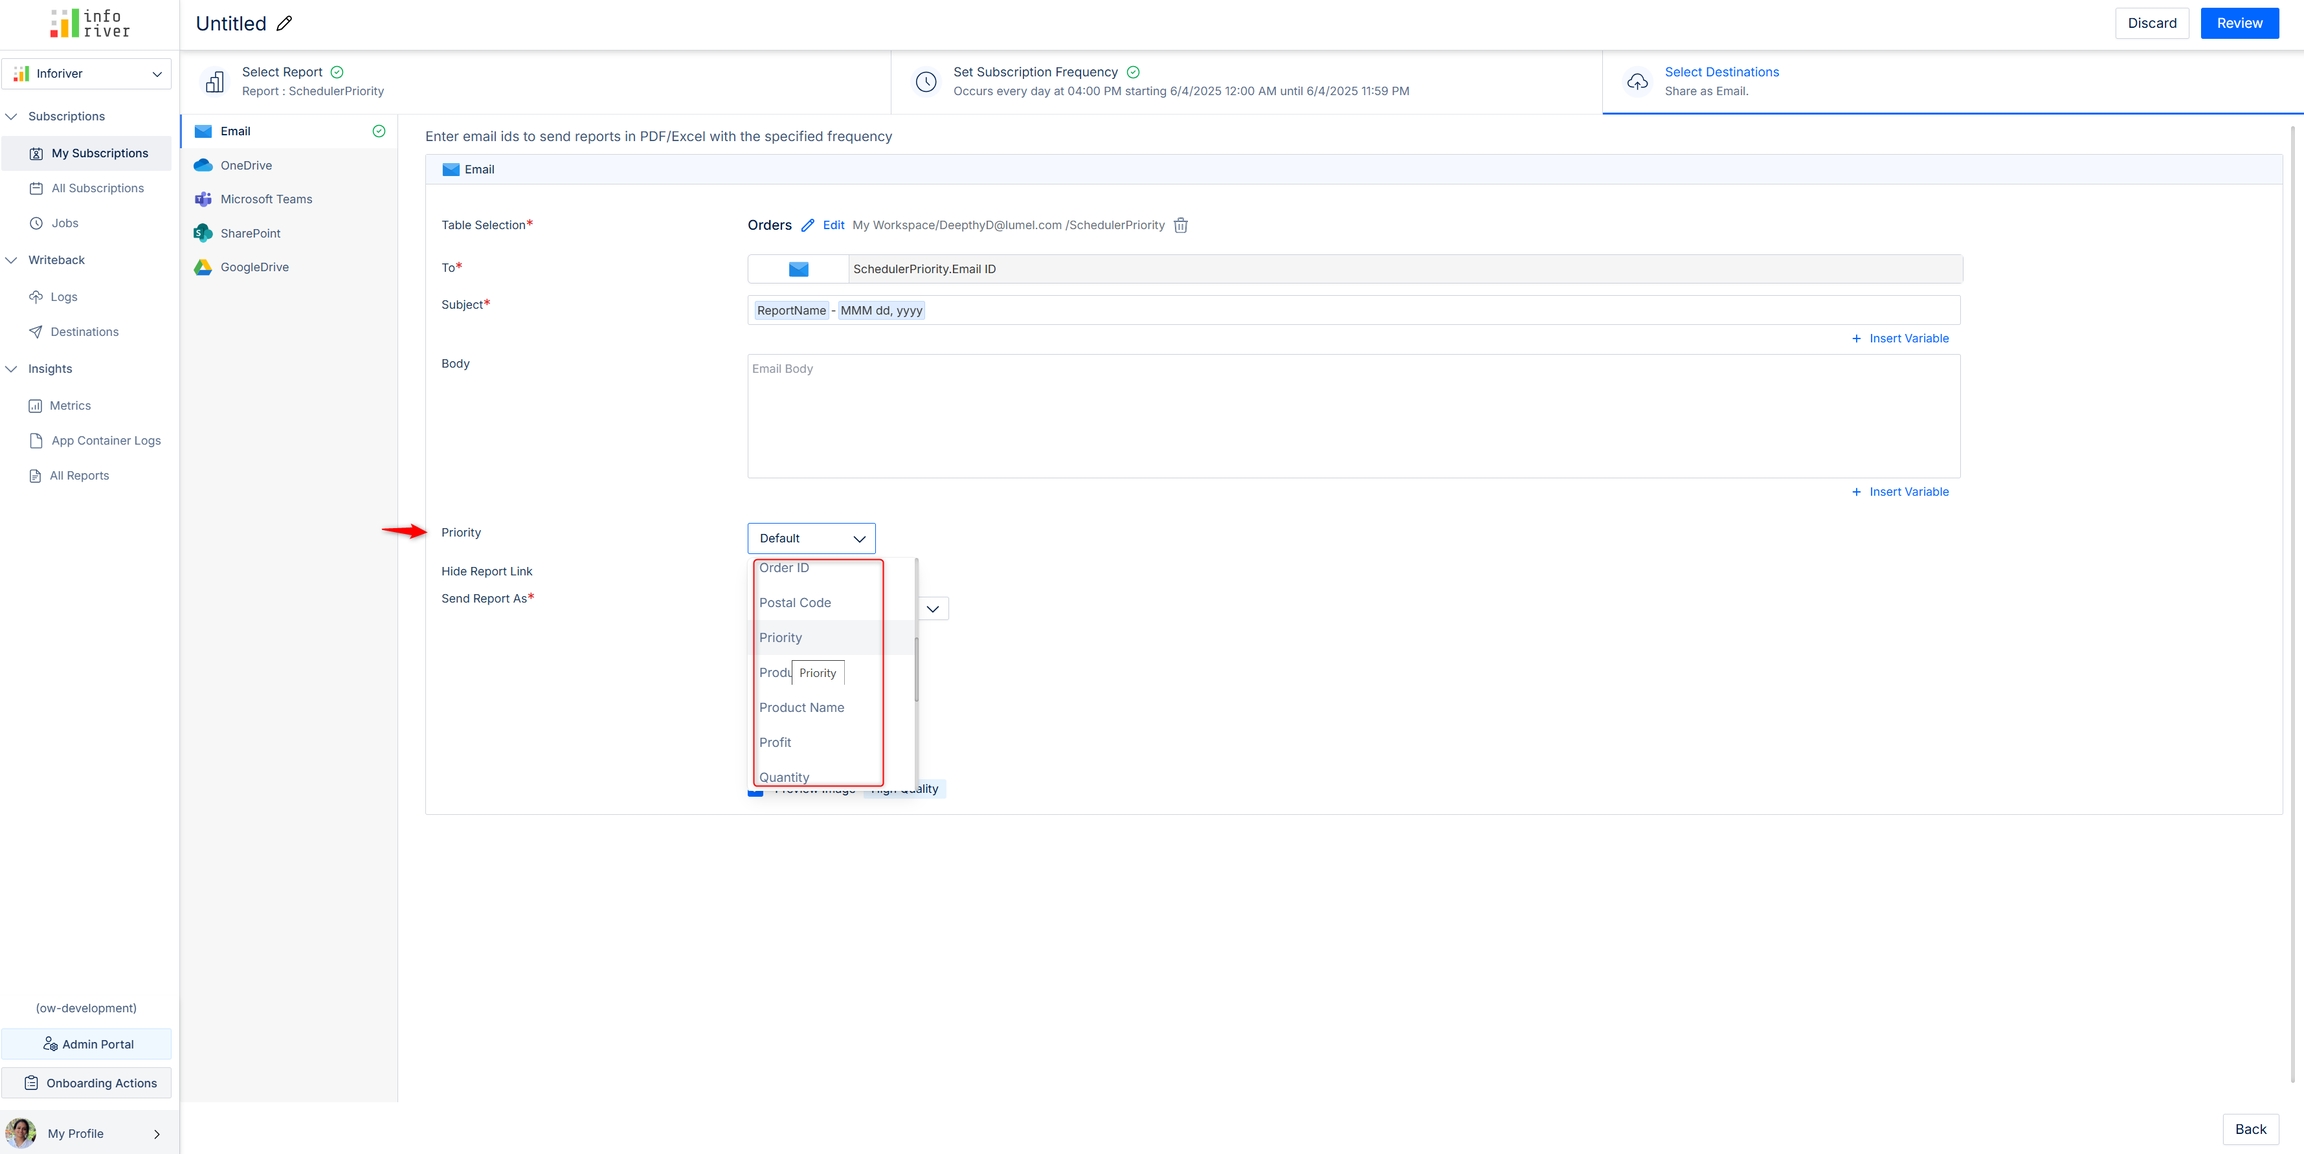
If required, select the column from the semantic model that contains the priority. The default subscription priority is taken if a column is not specified explicitly.
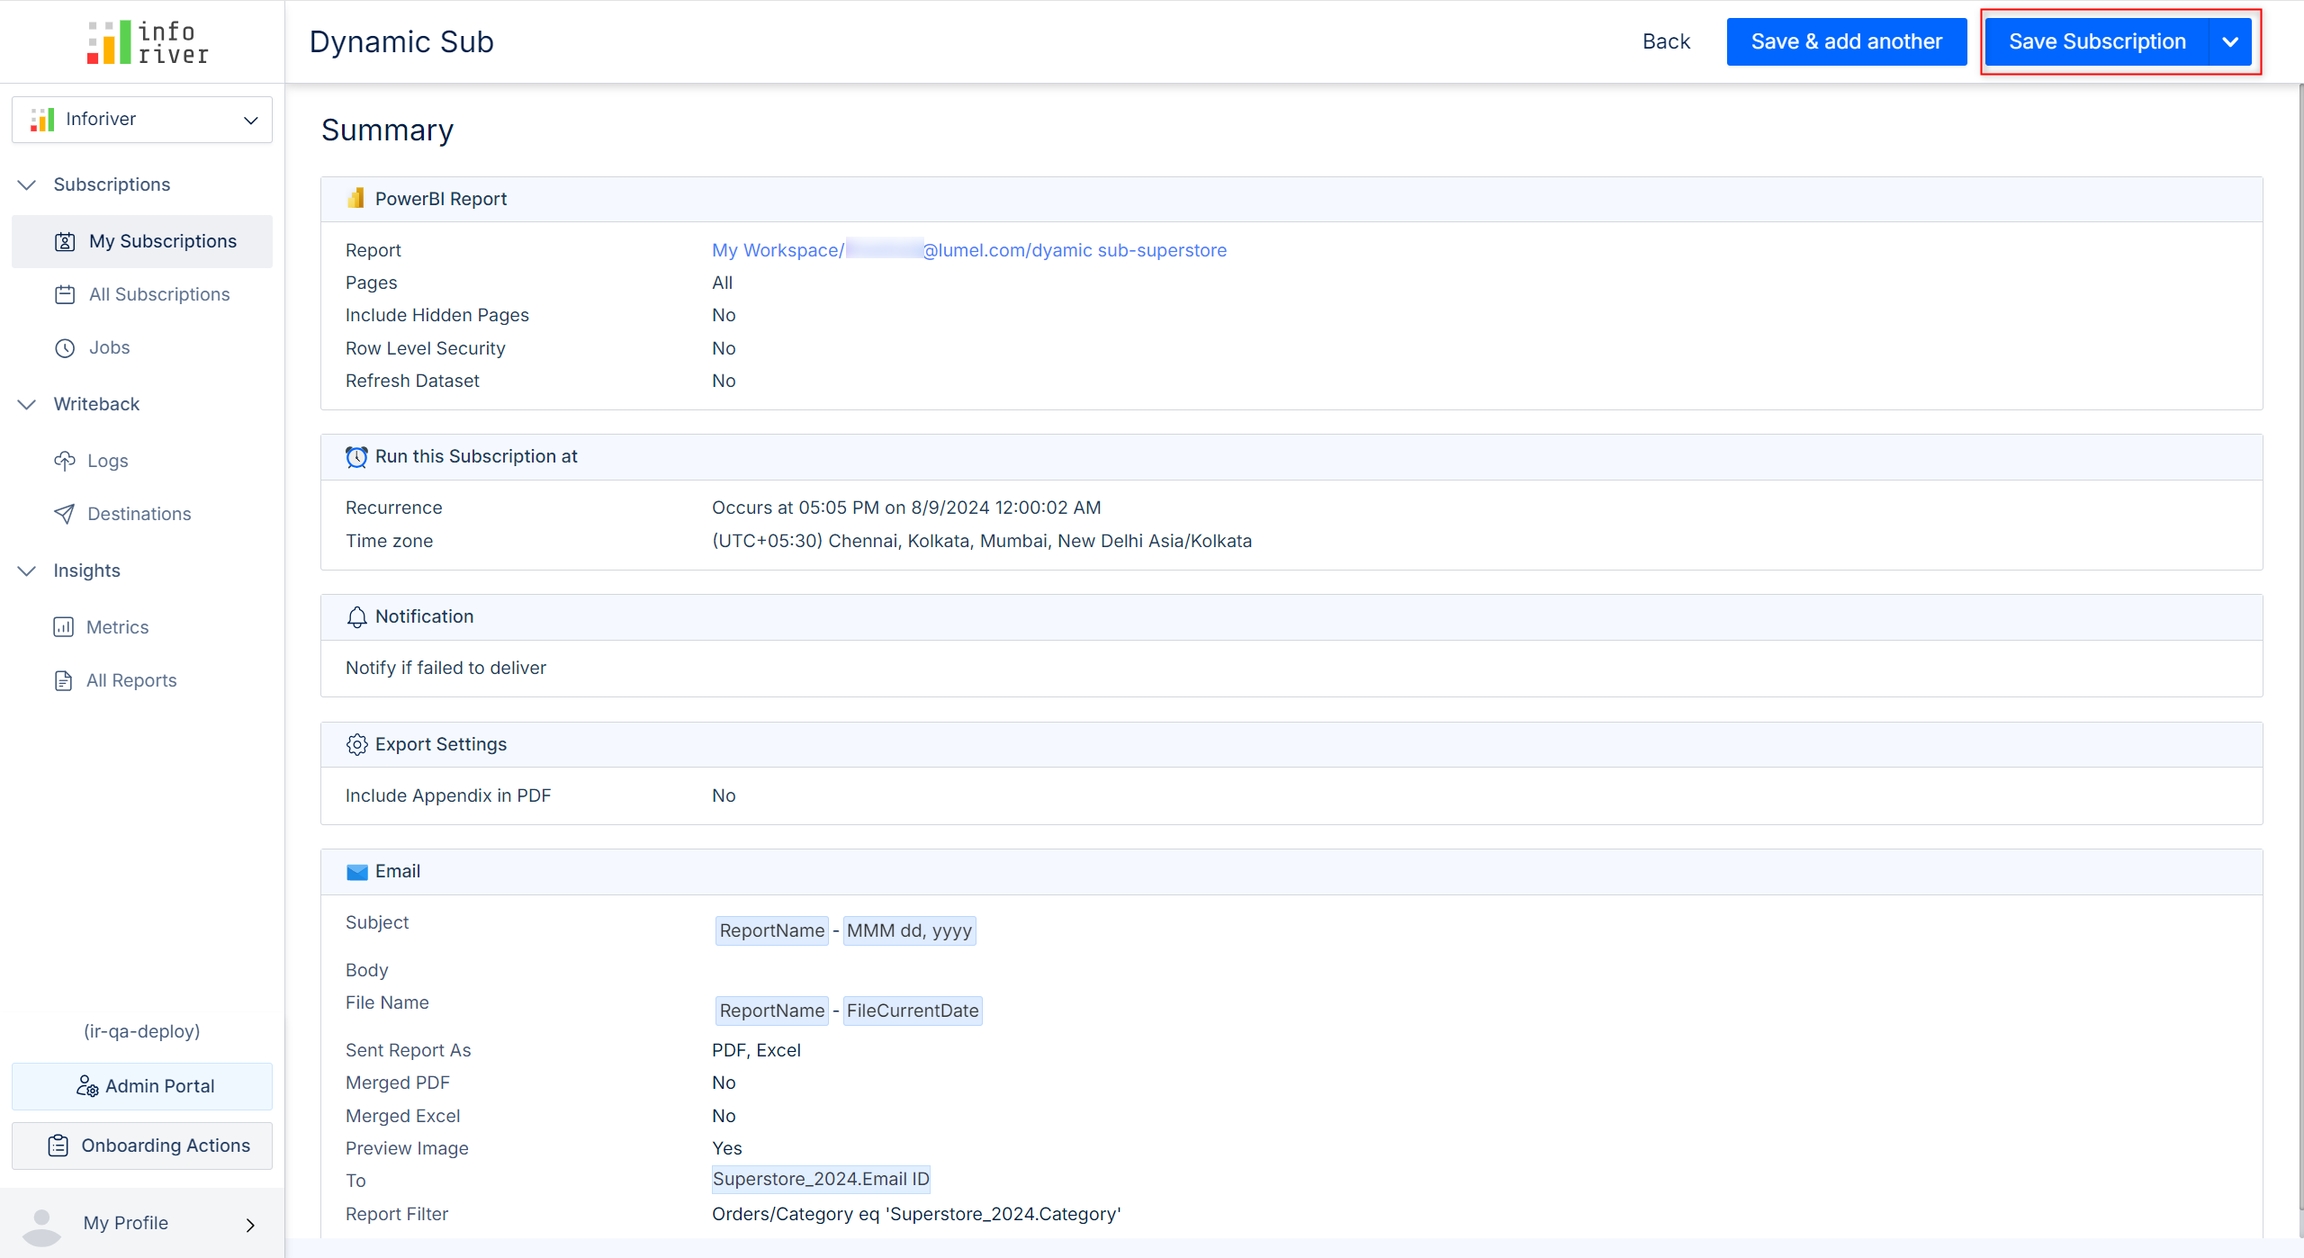
On the next page, review the settings and select Save Subscription. The subscription is created.
In the next sections, we'll explore the configuration options for each type of destination.
The next step is to review the settings and save them to start the subscription. Navigate to for illustration, or the to understand the configuration for different destinations.
When you select 'Default' priority, the will be taken.
Configure to share only specific dimension categories with the recipients . Then, click Save.